Untitled article

3%

Untitled article

Mrs. E. M. Long

Review and Herald Publishing Association · Takoma Park Station, Washington, D. C. · Nov 12, 1908

FromReview and Herald, Vol. 85, No. 46.

Read the full edition
Manual Training for Our Primary Grades—No. 3
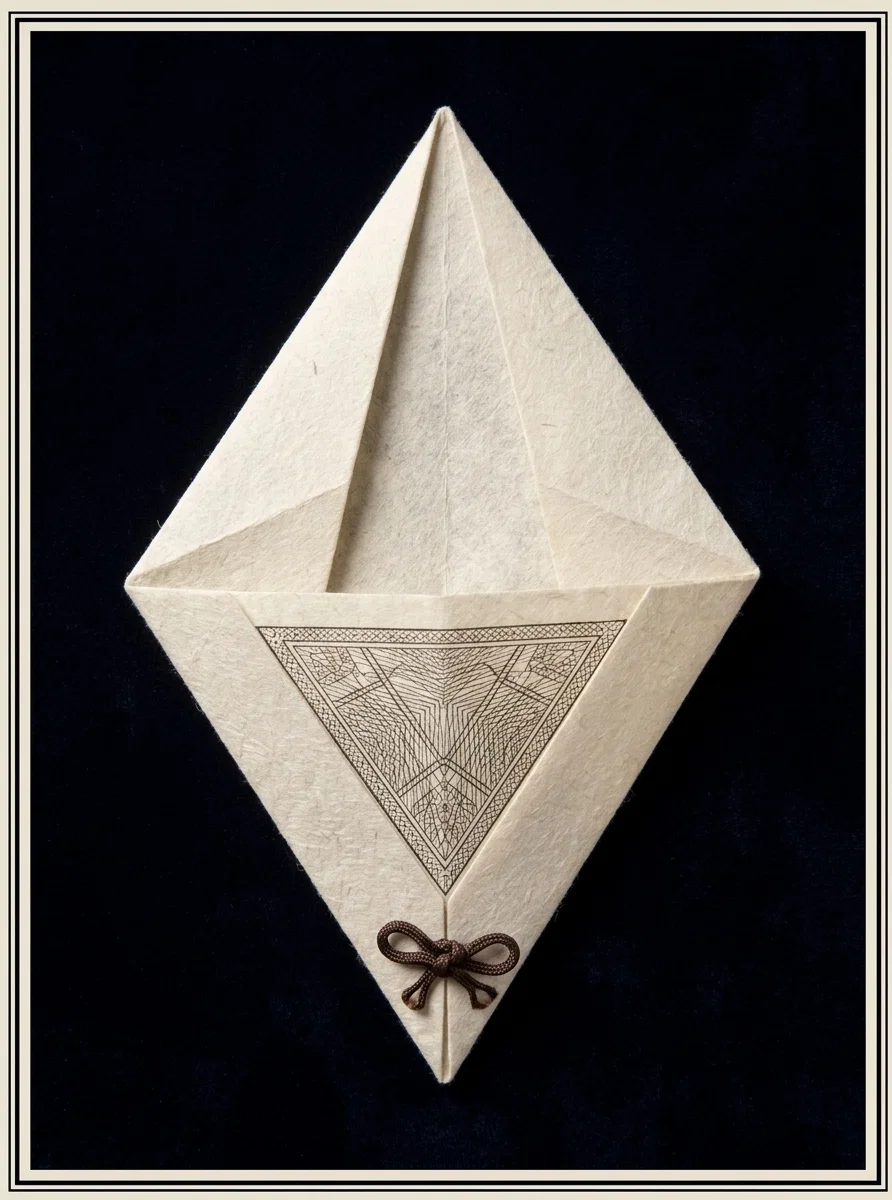
Model No. 8
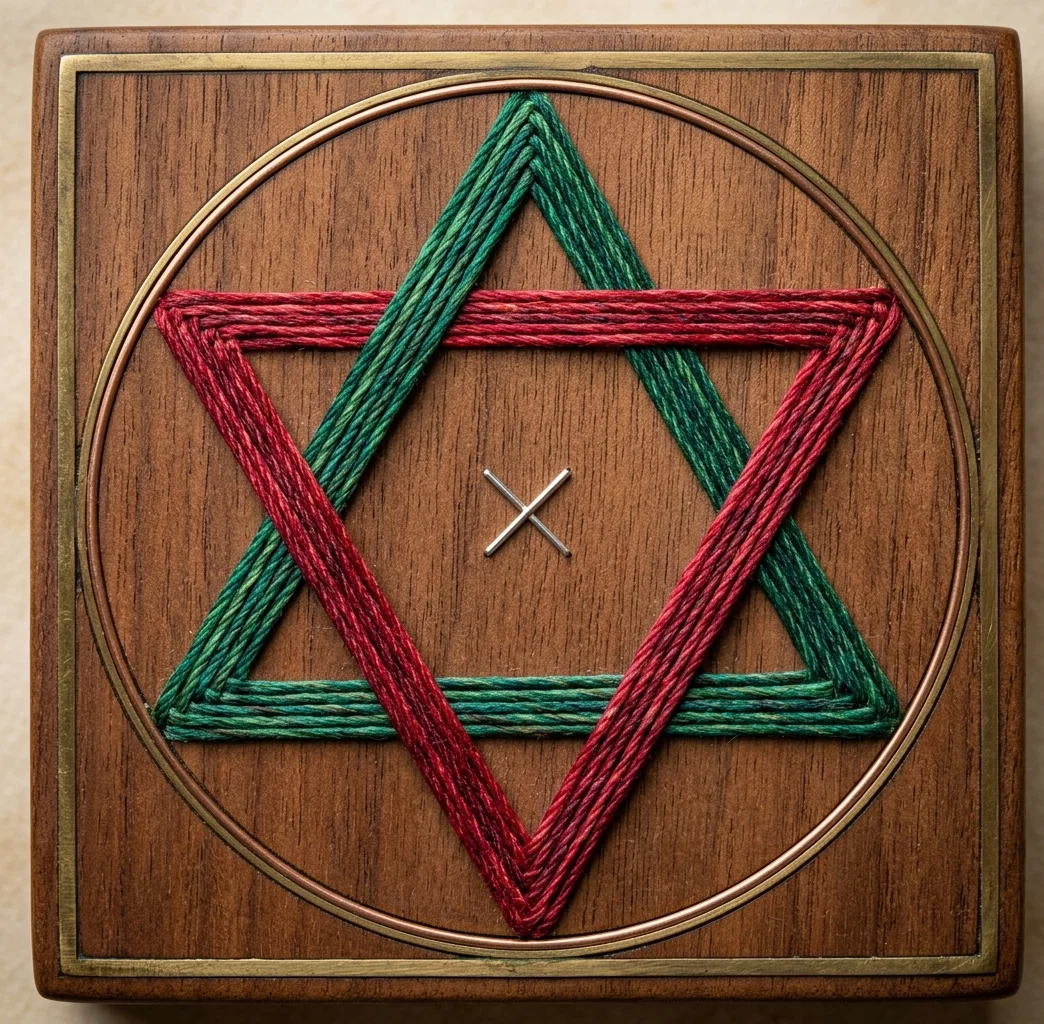
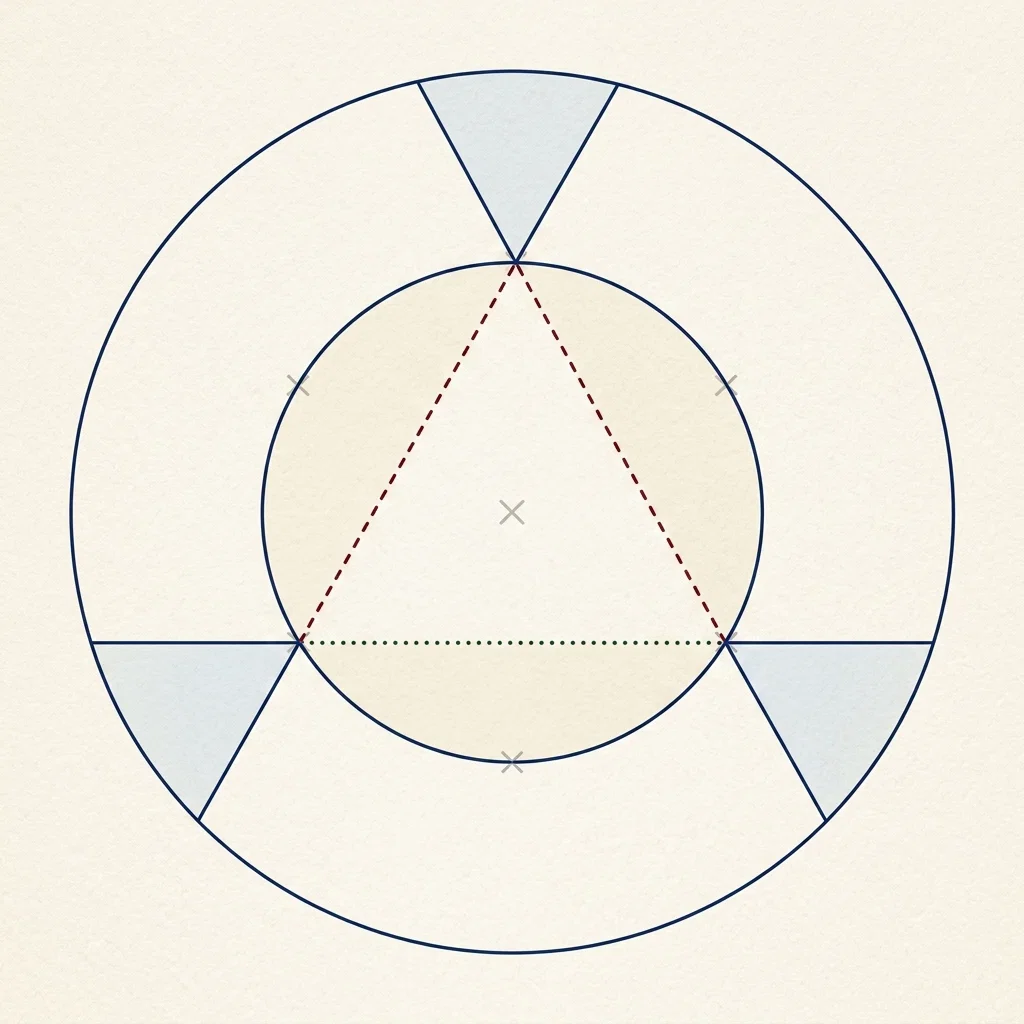
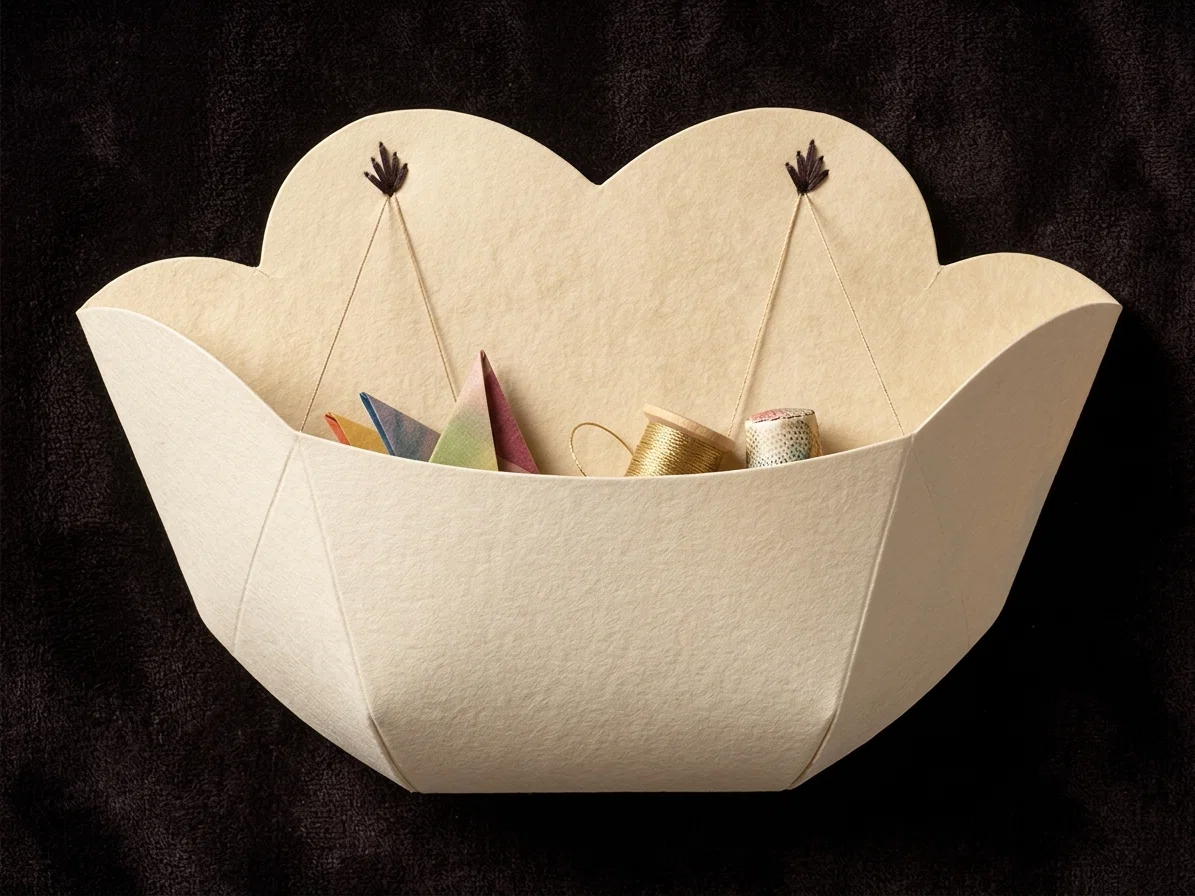
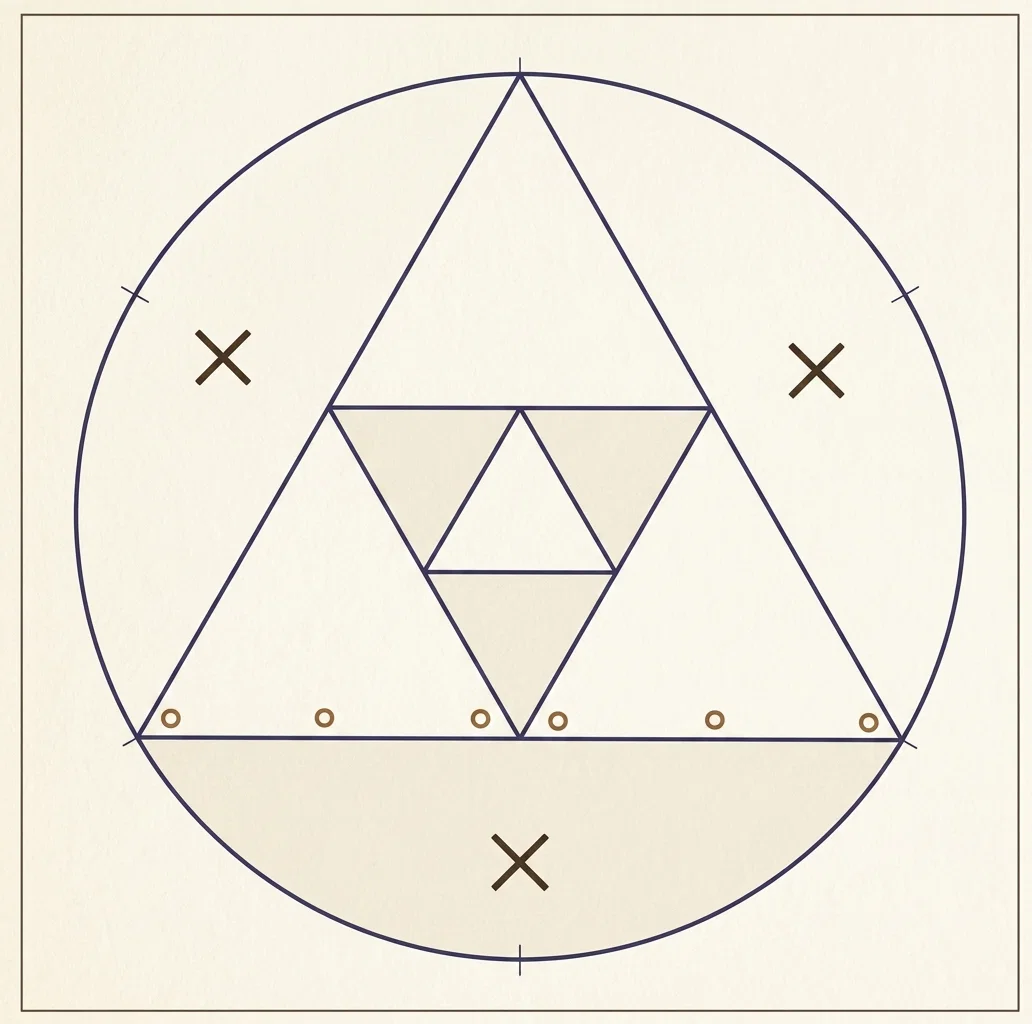
THIS is a wall-pocket. With a three-and-one-half-inch radius, draw a circle in the center of the paper, and divide it into six parts, as before. Connect alternate points, thus forming a triangle. Each side of the triangle must be divided in the center. A better way is to place the edge of the ruler against one point of the triangle, and the opposite point in the circle. It must also touch the center of the circle. Make a point where the ruler crosses one side of the triangle. This will be the center. Find the center of the two other sides in the same way.
MODEL NO. 8
MODEL NO. 8
Connect these three center points as shown in Figure 1. Cut out the large triangle. Fold and tie as usual. Of course you will understand that the small cross made in finding the center never means that that part is to be cut away.
FIGURE 1
FIGURE 1
Model No. 9
A comb-case. Locate straight lines (Fig. 2) with two-inch measurements. Draw the upright lines first. With a two-inch radius, and the point of the compasses placed at the point in the center of the paper, draw the half-circle which forms the back of the comb-case. See that each end of the curved line just meets the end of one of the short, horizontal lines. With the same radius, and the point of the compasses placed successively at the points where the horizontal lines meet the upright ones, draw the curved lines which locate the ends of the comb-case. Draw the slanting lines as indicated. In tying, one knot at each end is sufficient.
FIGURE 2
FIGURE 2
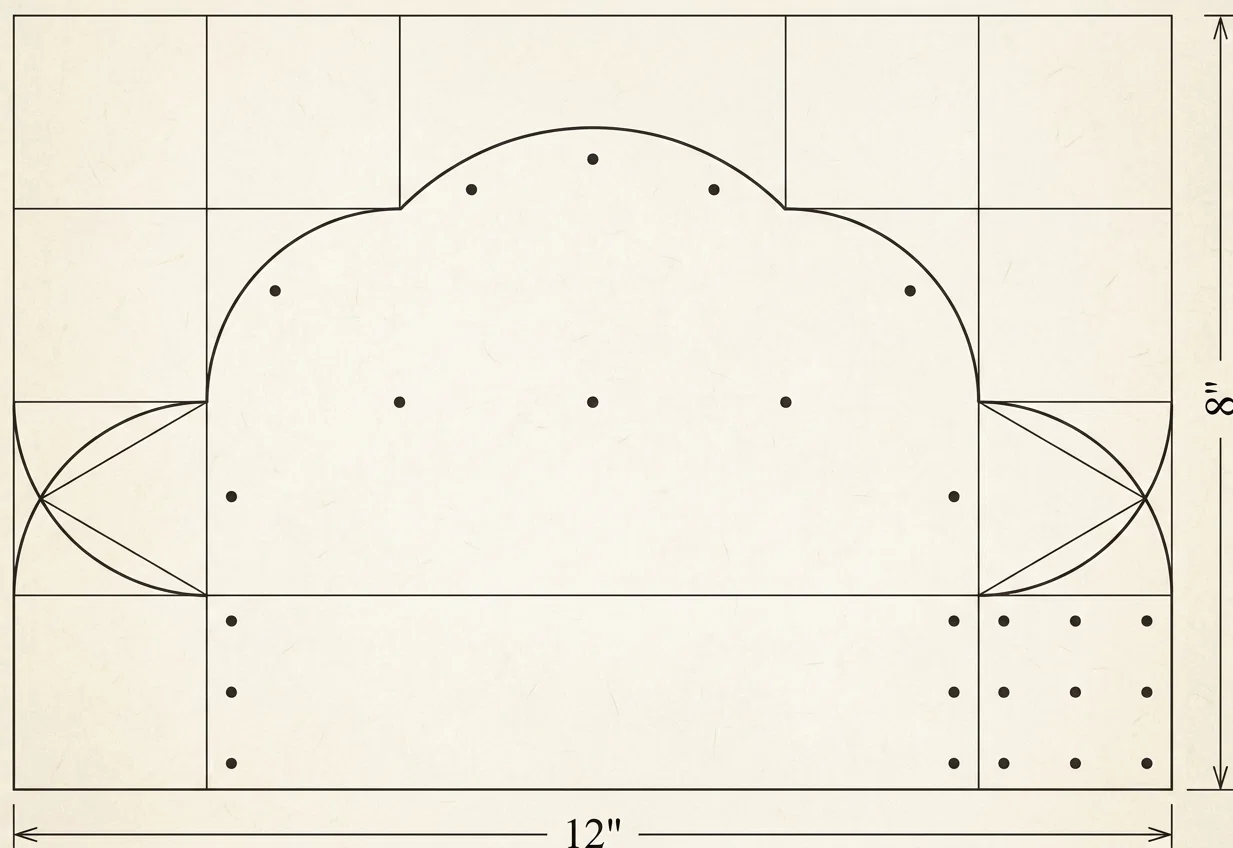
If desired, a comb-case for actual use may be made of a piece of heavy cardboard eight inches wide and twelve long. (Fig. 3.) The same measurements and radius are used as for the small comb-case, except for the center curve of the back. For this the radius is the distance from the center of cardboard to the point where the curved line begins. Cut as indicated for the small comb-case. Score the lines that are left (scoring is cutting with a sharp-pointed knife half-way through the cardboard, so that it will bend with-out breaking); bend away from the cut. For this size it is better to mark three places for tying, and either lace or tie separately.
FIGURE 3
FIGURE 3
Model No. 10
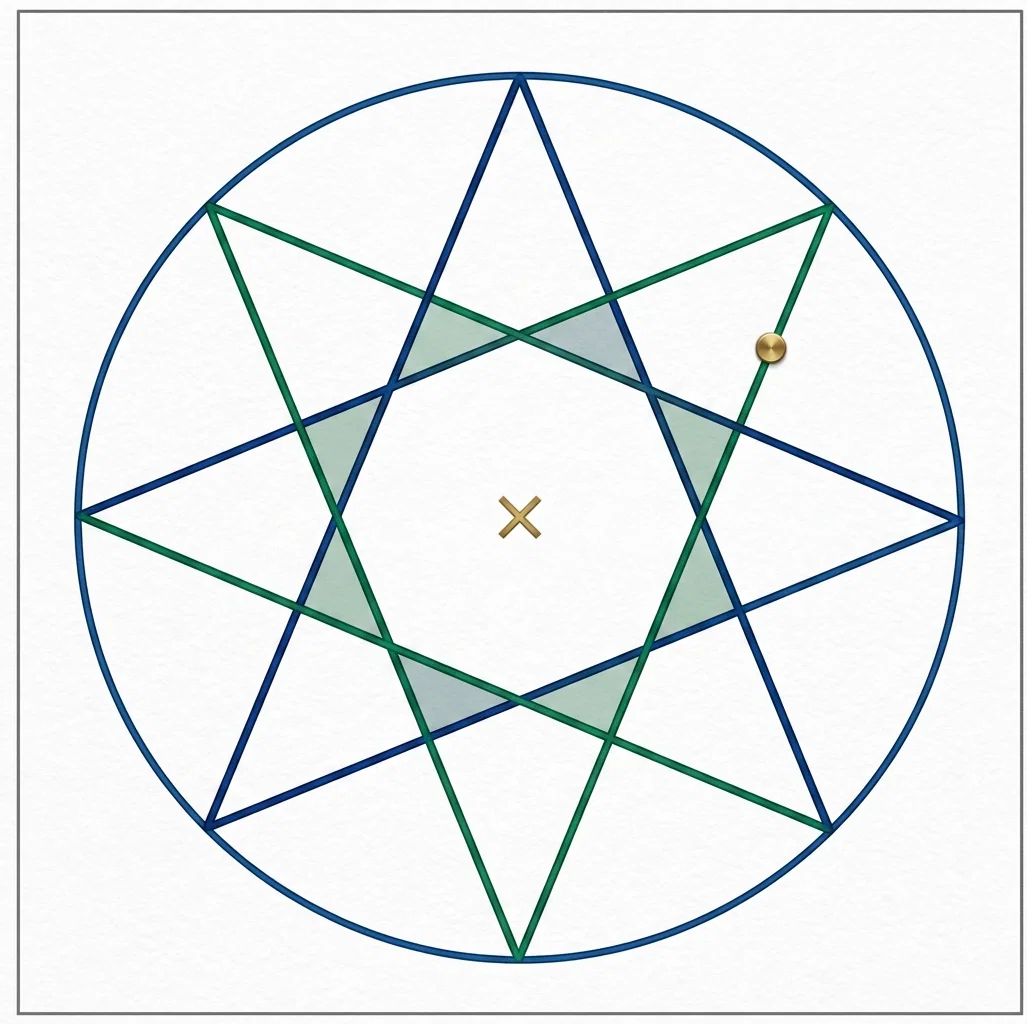
This is a star mat. For the drawing (Fig. 4), use a three-and-one-half-inch radius. Divide the circle into six equal parts as in previous drawings. Connect alternate points, thus forming two triangles, crossing each other. Cut the outline of the star. Figure 5 shows an eight-pointed star. Use a three-and-one-half-inch radius for the circle. Place the ruler across diagonally in both directions, also across opposite points in the center of the sides of the square, and make points in the circle. This gives eight points, one pointing toward each corner, and one toward the center of each side. In connecting these points to form the star, skip two each time on the outside of the ruler.
FIGURE 4
FIGURE 4
Model No. 11
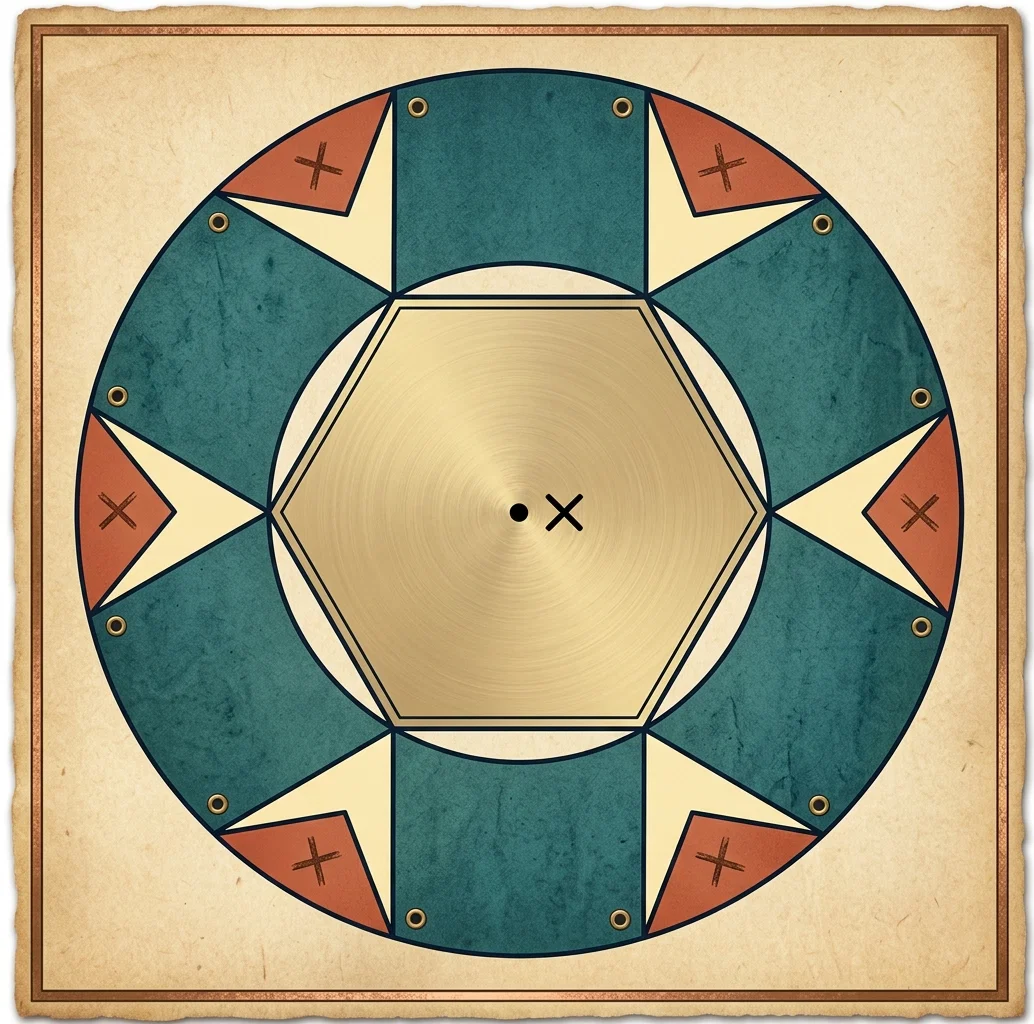
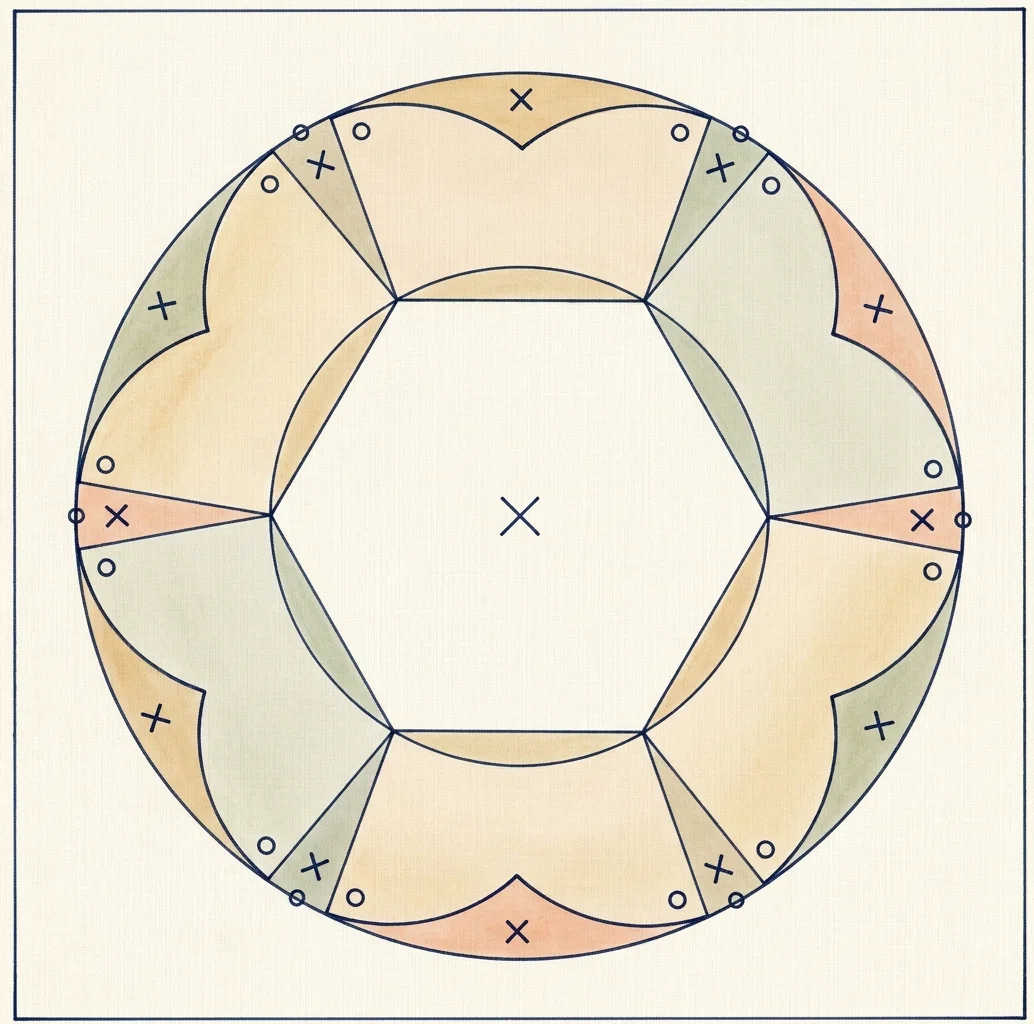
Is a hexagonal box. With a radius of two inches draw a circle in the center of the paper. Divide it into six equal parts. With a radius of three and one-half inches, draw another circle, using the same center. This circle need not be divided. Place the ruler across alternate points in the small circle, and draw lines from the small circle to the large one, on each side. (Fig. 6.) The dotted lines show where the ruler is to be placed. Repeat until each point in the small circle has been used twice, thus forming a V at each one. (Fig. 7.) Be sure that the V’s are the same size and shape. Connect adjoining points in the small circle with straight lines. Cut the circle, and cut out the V’s. Be sure that the cuts stop exactly at the points in the small circle. Fold the straight lines and tie.
FIGURE 5
FIGURE 5
Model No. 12
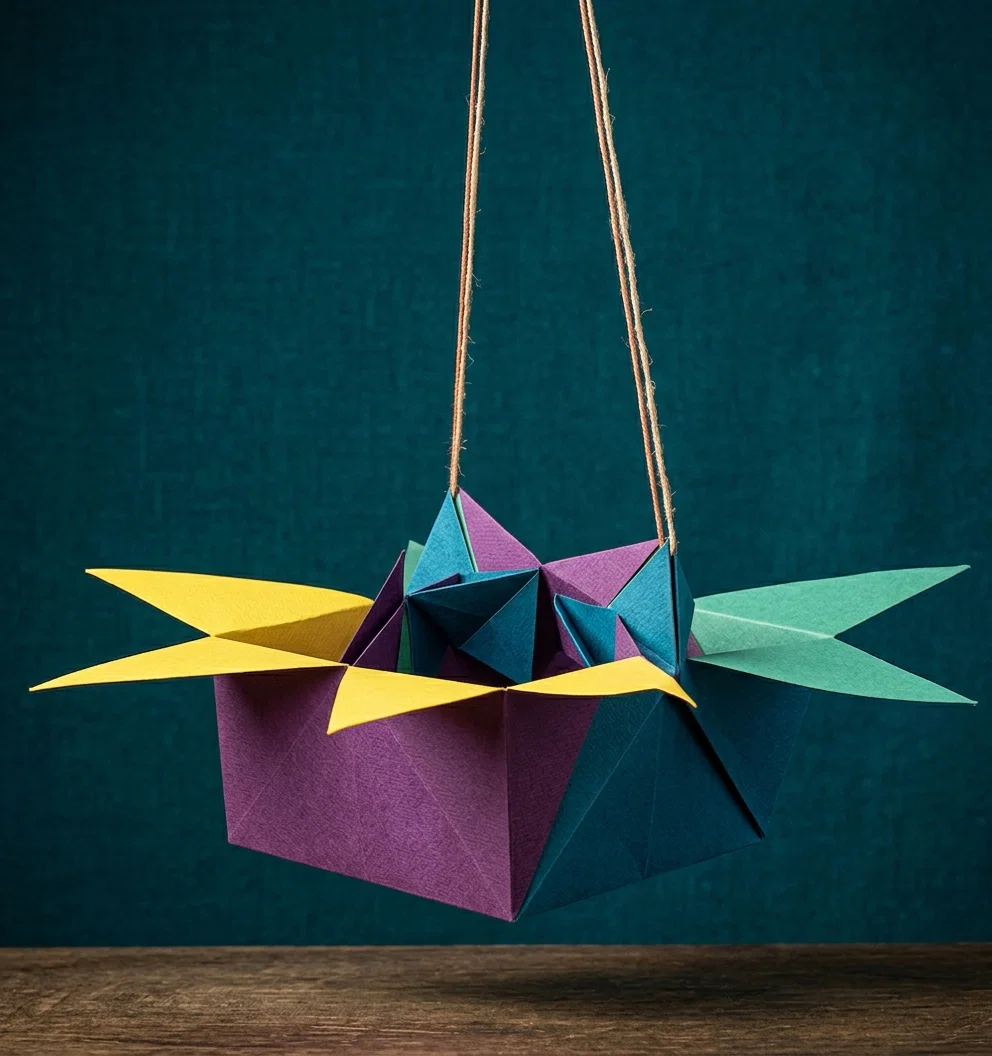
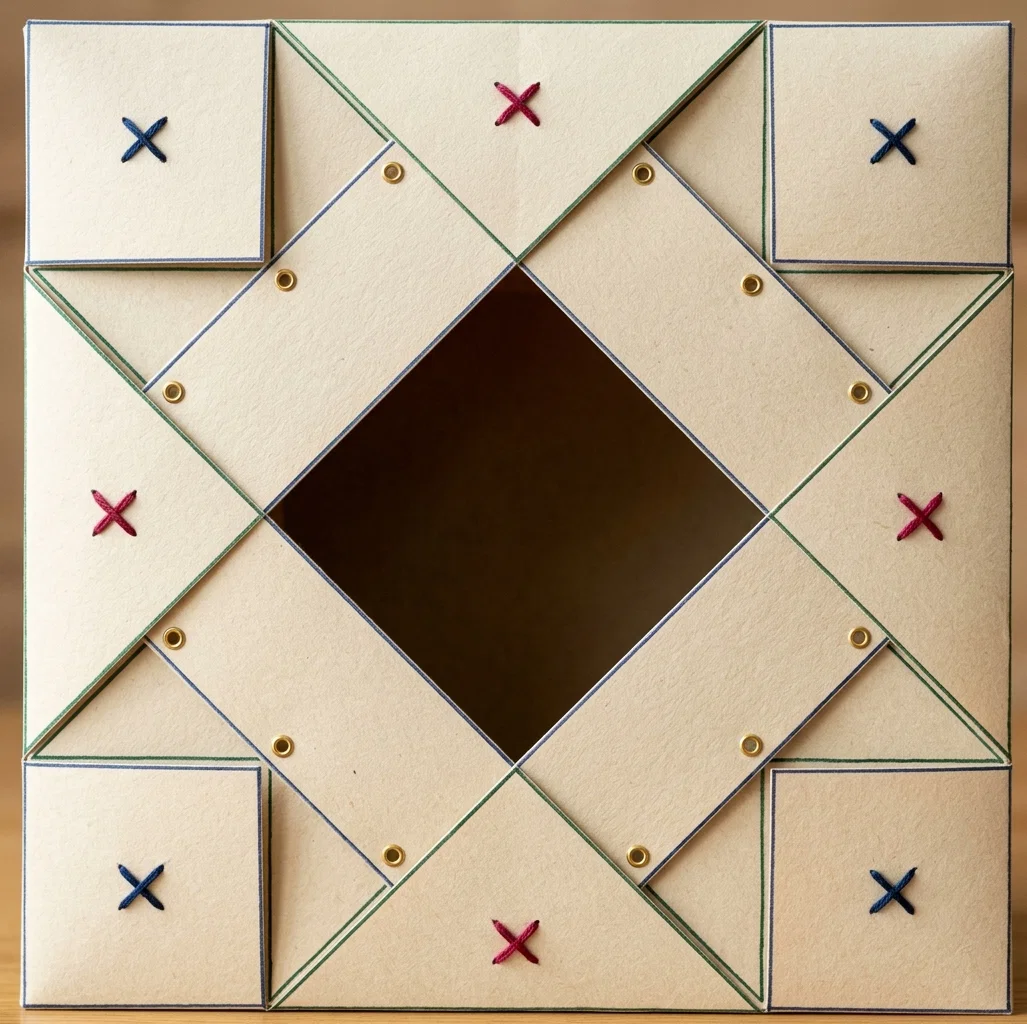
Is a May-basket. Make a point two inches from each corner, and in the center of each side of the paper. Draw the long, slanting lines by using the two-inch points, as shown in Figure 8. Draw the short, slanting lines by placing the ruler across the central points of adjoining sides. To form the square in each corner, place the ruler across opposite two-inch points, and draw a line from each to meet the nearest short, slanting line. Mark the places for tying, and cut out the parts marked X. The triangular points around the top should be folded outward. To do this prick the short, slanting lines near each end, turn the paper over, lay the ruler along the pricked points, and fold. The extra places for tying are for attaching a handle.
MODEL NO. 11
MODEL NO. 11
FIGURE 6
FIGURE 6
Model No. 13
A hexagonal card-tray is shown in this model. Let the children follow, as far as the work is a review, by watching your work on the board. In every way encourage observation and attention. Open your compasses two inches for the inner circle; hold them up, and let the children see if they can tell the distance between the points. Draw the circle, and divide it with ruler and compasses as usual. The radius for the large circle is three and one-half inches. Let the children guess this also. Divide the large circle so that the points will coincide with those in the small circle; that is, they must be so placed that when the ruler is laid across, touching the center and two points in the small circle, it will touch two points in the large circle also. Locate the first two with the ruler in this way, and the remaining four with the compasses as usual. Then make a point one fourth of an inch each side of each point in the large circle. Either ruler or compasses may be used to locate them. Connect each two of the points last made with the nearest point in the small circle. (Fig. 9.) Now open your compasses the length of one of these lines. Place the point in turn at each point in the small circle, and draw the curved lines which form the top of the tray. Ask the children to try to measure so correctly with their eyes that the curved lines will just meet in the center of each side, not cross. Connect the points in the small circle with straight lines. Cut the curved lines which form the top of the tray, and cut out the V’s. Fold the straight lines.
FIGURE 7
FIGURE 7
MODEL NO. 12
MODEL NO. 12
FIGURE 8
FIGURE 8
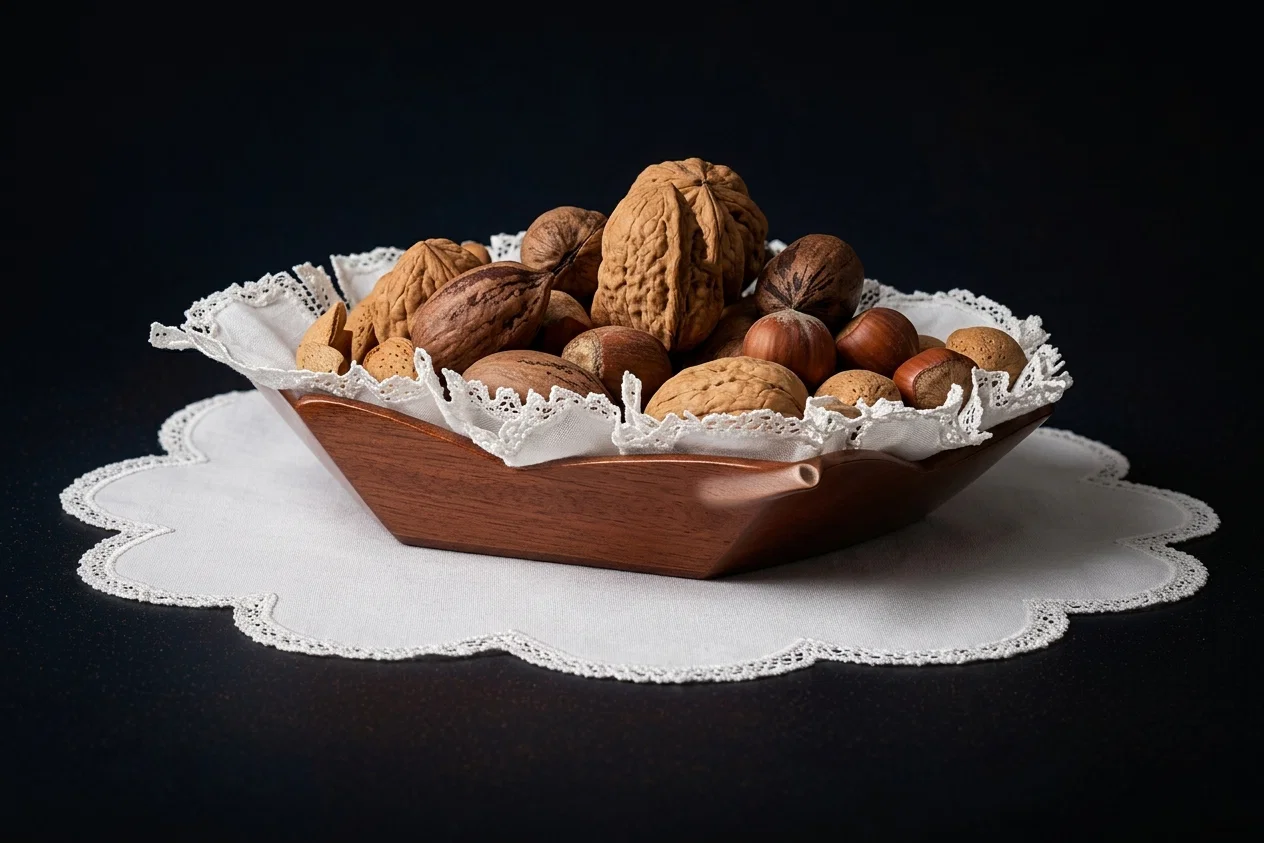
This tray may be lined, and used for fruit, nuts, or popcorn.
For the lining cut two circles of white tissue-paper the size of the large circle used for the tray. Fold the two together in the center, and in the center again, thus quartering them. Slash the cut edge nearly an inch deep, and about one-sixteenth of an inch apart, for a fringe. Open the folds, and press into the tray.
MRS. E. M. LONG.
MODEL NO. 13
MODEL NO. 13
FIGURE 9
FIGURE 9
A TRAY OF NUTS
A TRAY OF NUTS