Methods

4%

Review and Herald Publishing Association · Takoma Park Station, Washington, D. C. · Jan 7, 1909

FromReview and Herald, Vol. 86, No. 1.

Read the full edition

Methods

Manual Training for Our Primary Grades—No. 4

Model No. 14
MODEL NO. 14
MODEL NO. 14
FIGURE I
FIGURE I
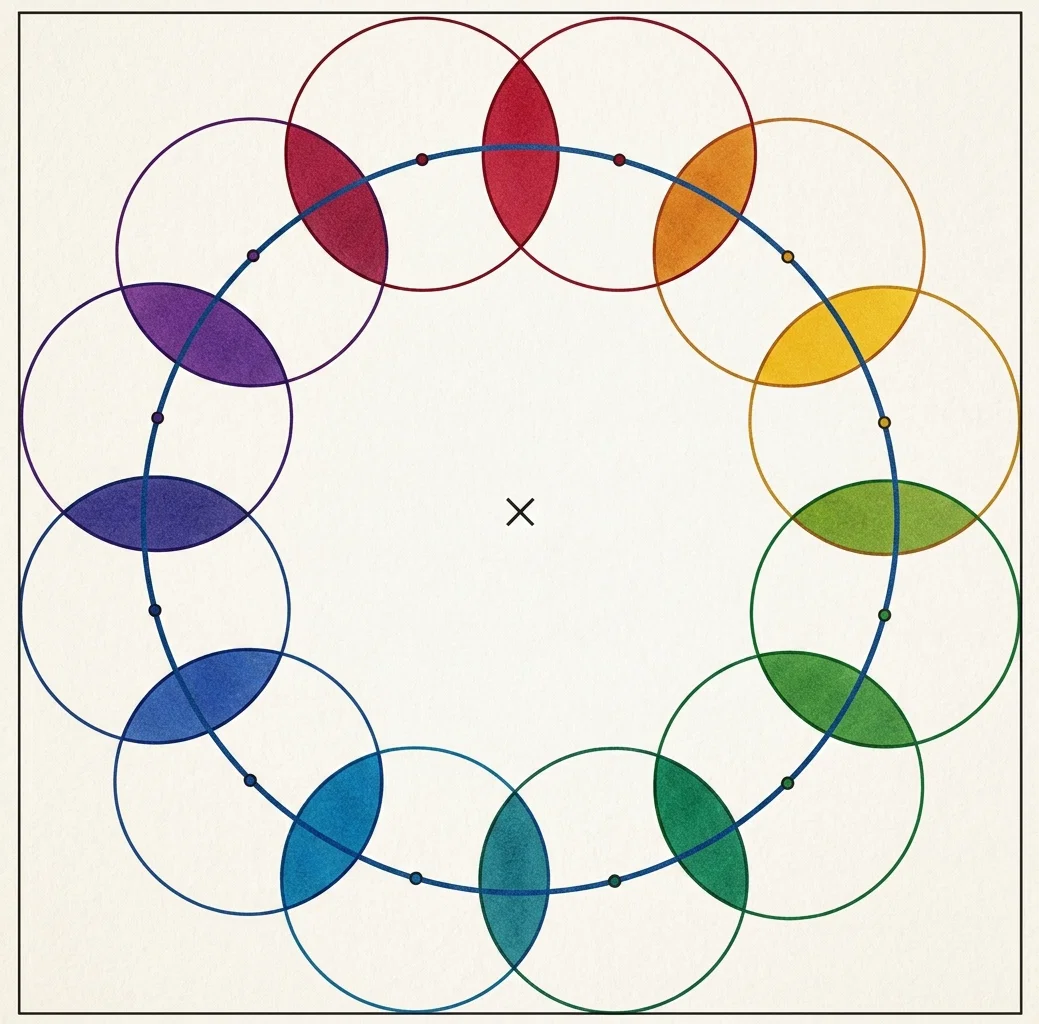
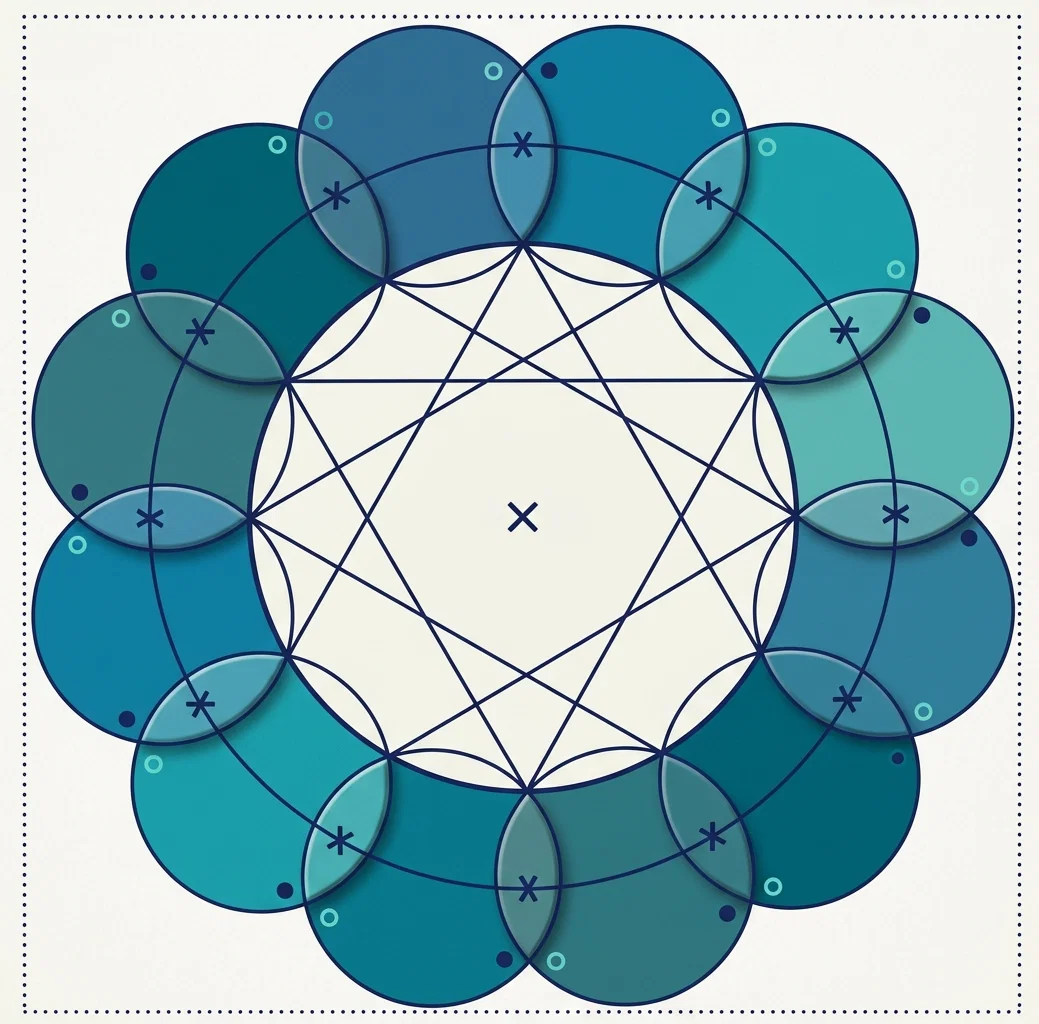
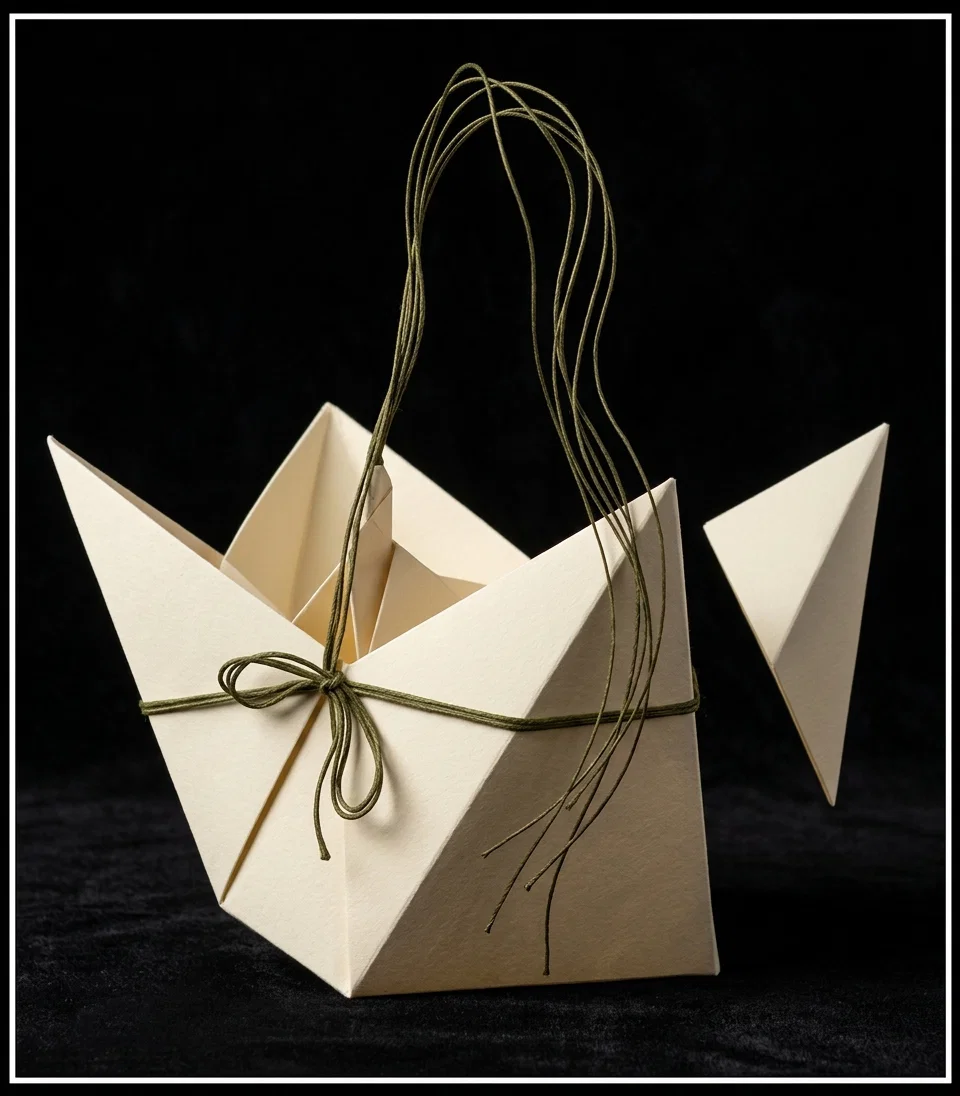
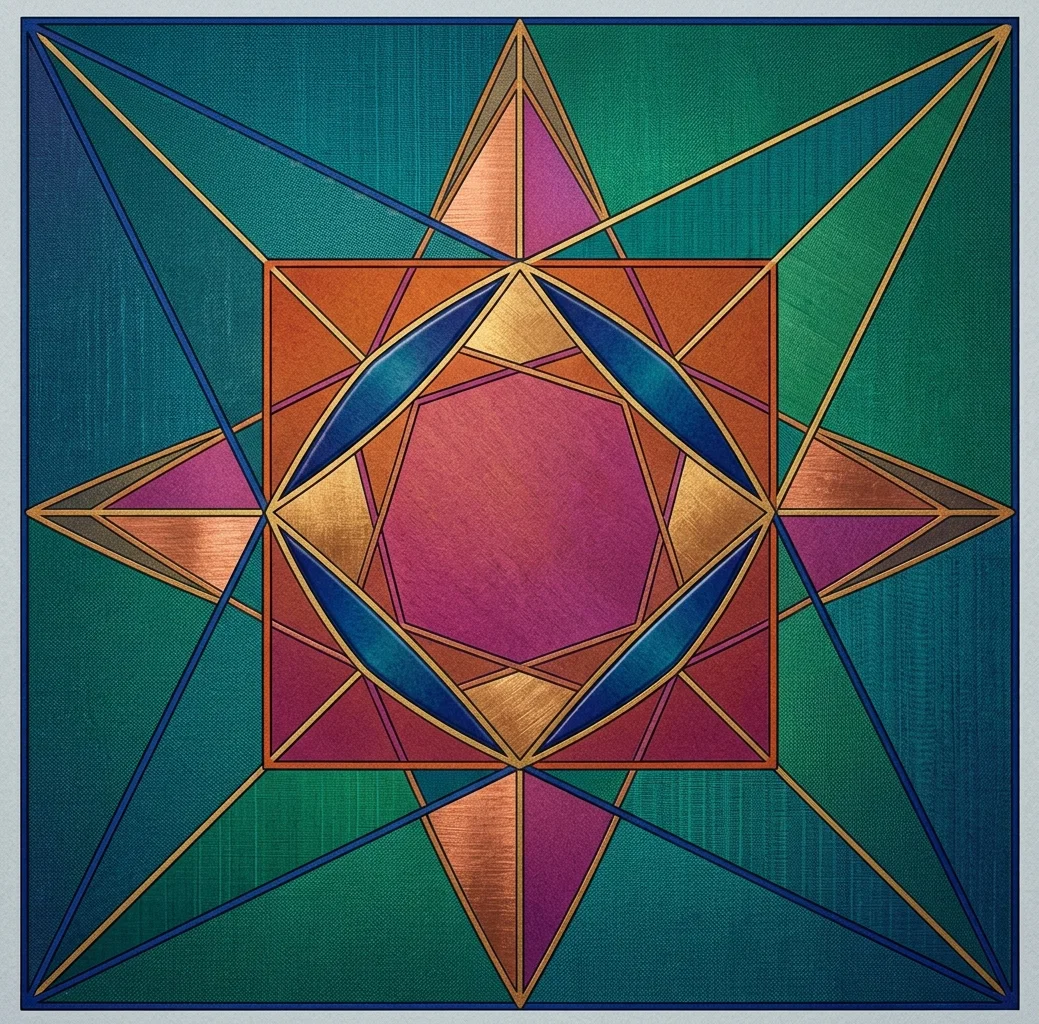
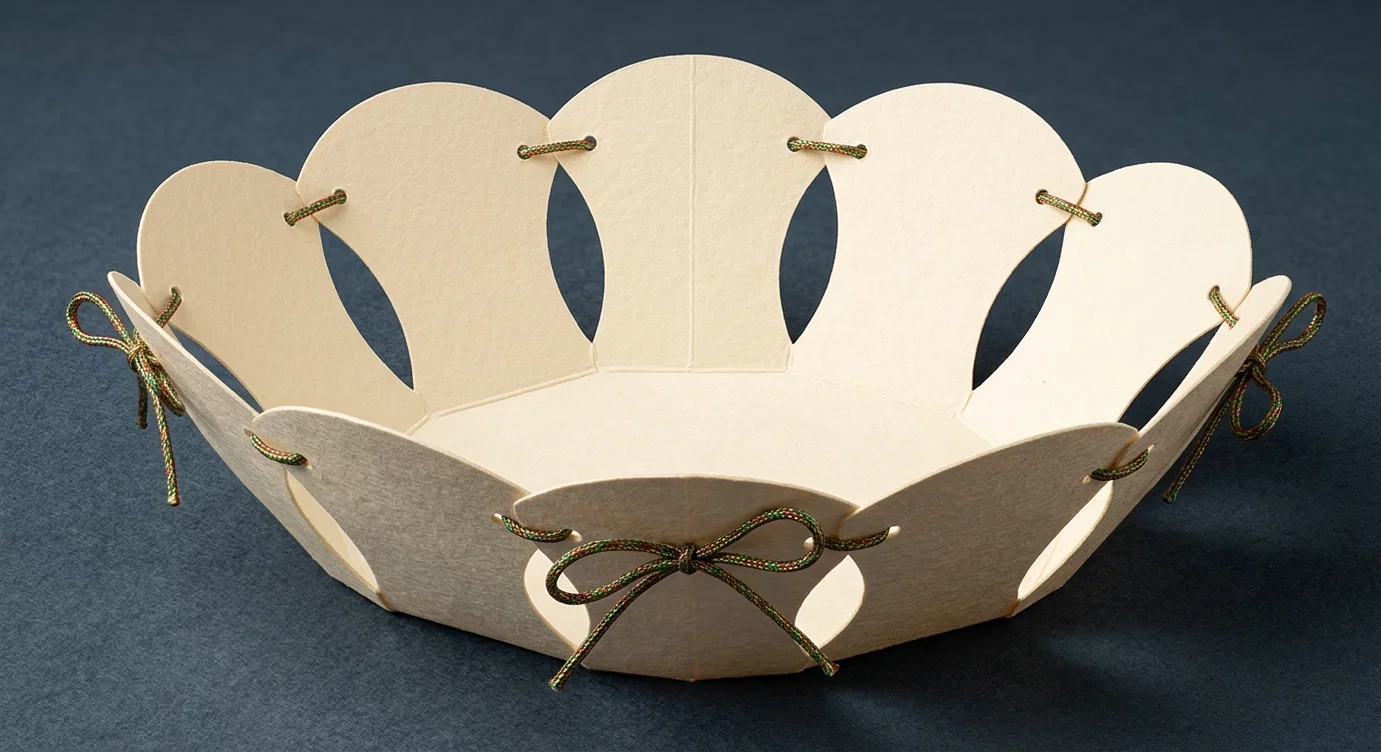
This is another card tray. Before beginning it, emphasize the importance of exact measurements, as this model can not be successfully made without them. In the exact center of the paper draw a circle with a radius of three inches. Place the ruler across each diagonal, just as in finding the center, and make a point in the circle at each place where the ruler crosses it. This exactly quarters the circle. With the three-inch radius, place the point of the compasses in turn at each of these four points, and make a point each side of each one. You now have twelve points, and they should be equal distances apart. (Fig. 1.) Testthem before proceeding further. Then with a radius of one inch use in turn each of the twelve points for a center, and draw a circle around it. These circles will overlap. Call attention to the boat-shaped parts formed by the overlapping, and see if they are the same size. Make distinct points when the circles cross each other on the inner side, and connect these points with straight lines. (Fig. 2.) Mark the places for tying. Cut the curved outline, and cut out the boat-shaped pieces. Fold the straight lines. The overlapping of the sides in tying gives a sufficient slant for the tray.
FIGURE 2
FIGURE 2

Model No. 15

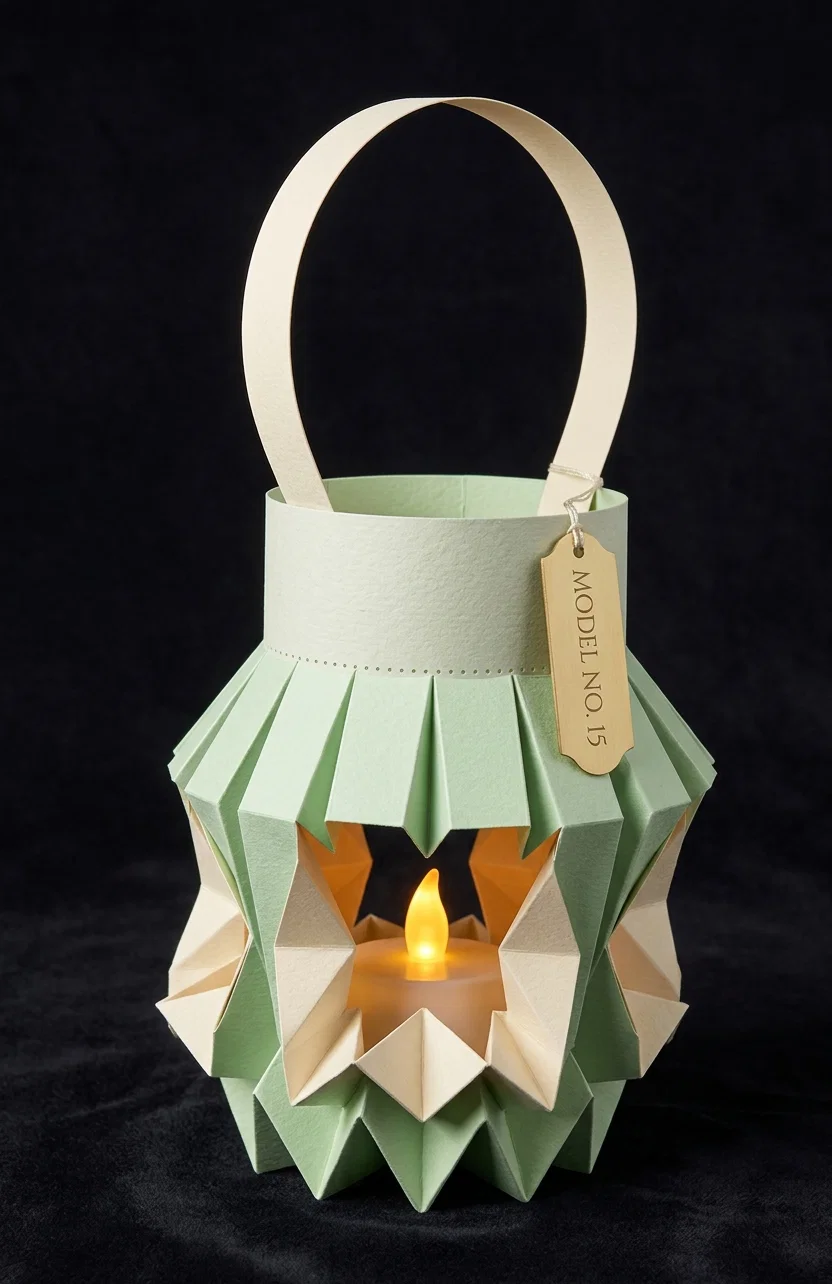
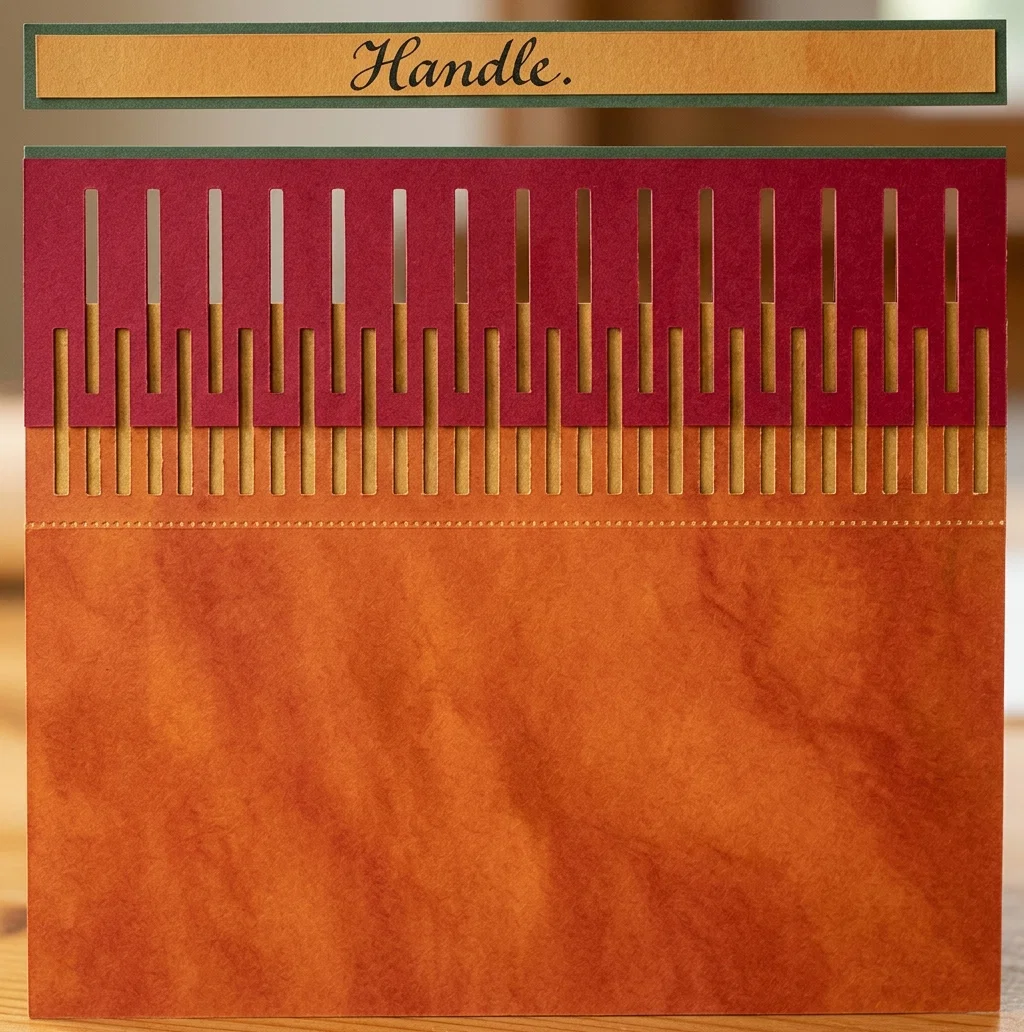
A safe lantern for school or Christmas decoration. One-half sheet of paper is sufficient for this model. After the paper is cut in half, place a point one-half inch from the upper corner on each end. Connect these points, and cut off the strip thus formed for a handle. Again place a point one-half inch from the upper corner on each end, and connect. In the center of each end, which will be one and three-fourths inches from the upper corners, place a point, and connect the two with a dotted line. On this dotted line, and also on the line near the top, place points one-half inch apart all the way across. Connect these points, as in Figure 3. Prick the dotted line near each end, and fold by the perforations thus made, so that the line will be on the outside. The upper and lower edges should just meet. With the paper folded, begin at the dotted line, and cut each of the short, upright lines. Stop exactly on the upper line. Unfold the paper, bring the two ends together with the folded edge outward. Let the ends overlap one-half inch, and either paste or tie. The handle also may be either pasted or tied (on the inside) to opposite sides of the lantern.
MODEL NO. 15
MODEL NO. 15
FIGURE 3
FIGURE 3

Model No. 16

This may be used for either flowers or popcorn. For the drawing make a point in the center of each side of the paper. Place the ruler across opposite points, and draw a line two inches long, measuring from each point toward the center. Repeat in the opposite direction. Connect the inner end of these four lines. The square thus formed is the bottom of the basket. Connect each corner of the square with the two nearest corners of the paper. (Fig. 4.) Cut the four two-inch lines. Fold all other lines. To shape the basket, let any two edges made by one cut pass by each other, and on until each rests against the nearest fold. Either paste or tie them in this position. Treat all cut edges in the same way. A handle of ribbon is preferable.
MODEL NO. 16
MODEL NO. 16
FIGURE 4
FIGURE 4
MODEL NO. 17
MODEL NO. 17

Model No. 17

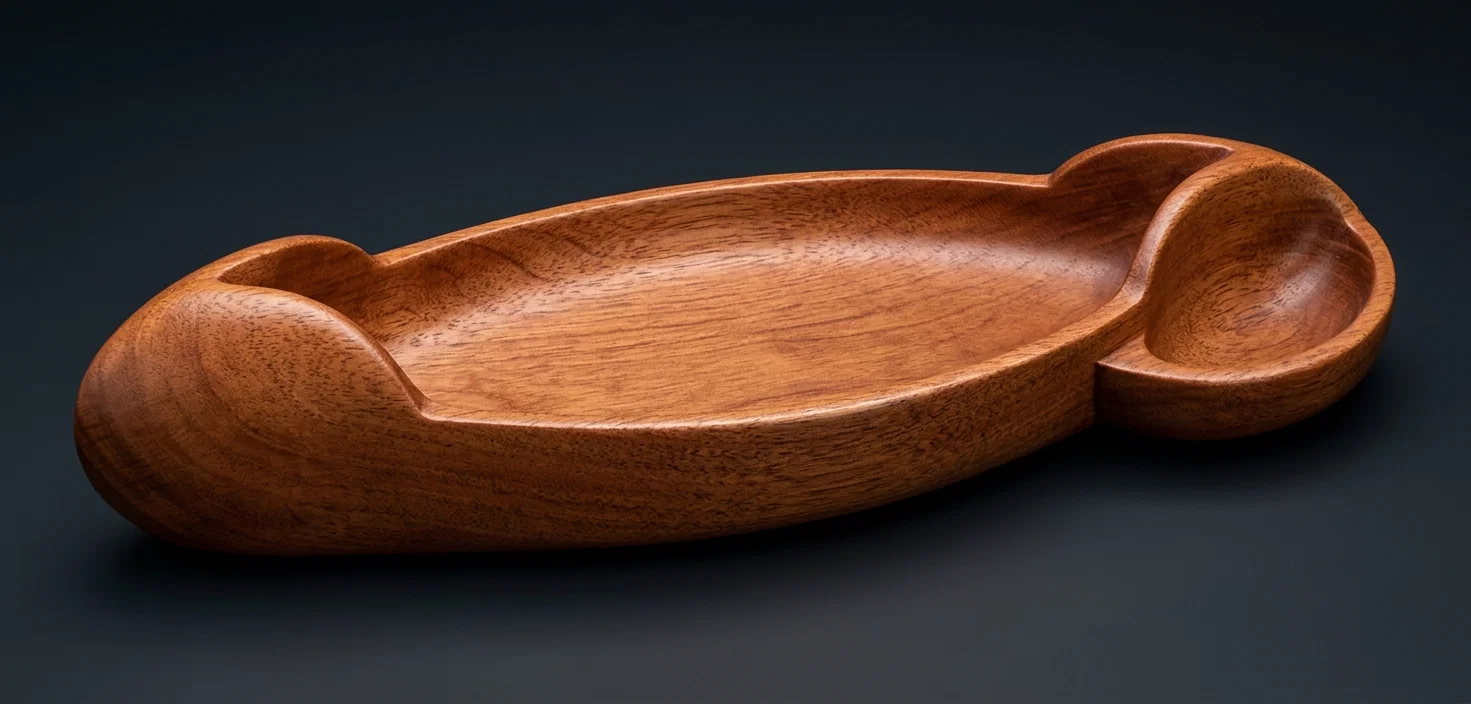
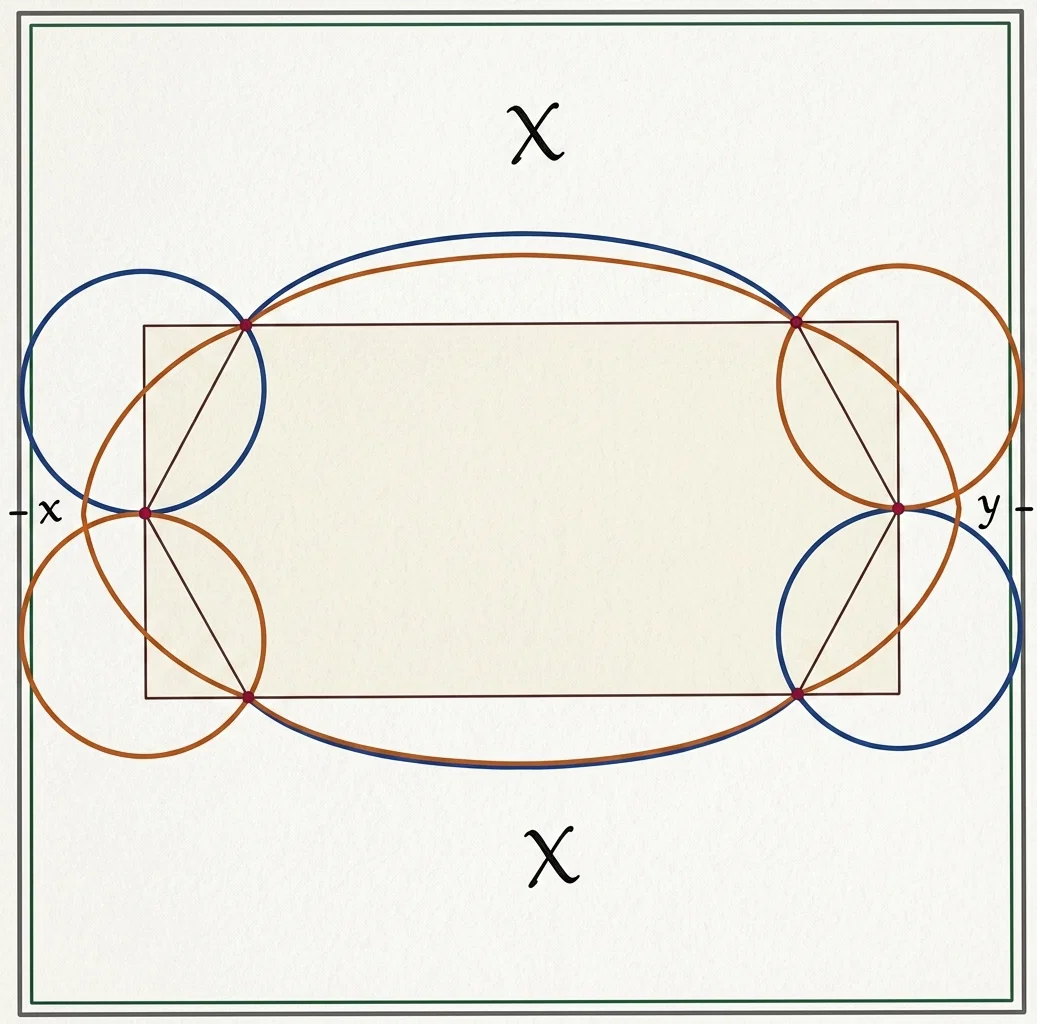
A canoe. This is not a difficult model, but the measurements must be exact. Make a point in the center of two opposite edges of the paper. Make a point one and one-half inches above and below each of those central points. (Fig. 5.) Place the ruler across the two upper points, begin one inch from the left edge of the paper, and draw a line which will end one inch from the right edge. This makes the line six inches long. Repeat across the lower points. Connect the two lines at the ends. This forms a rectangle. The connecting lines should be just three inches long. Place a point one-half inch from each corner of the rectangle on the ends. With a radius of one inch, place the point of the compasses in turn at each of the four points just made, and draw parts of circles, as shown. These should just meet in the center of the ends. Cut away the parts marked X. Do not fold. Bring the circular parts together at the ends, and paste. The canoe may be suspended by a cord or ribbon tied through the pasted edges near the ends. It may be used for hairpins, button-hooks, pencils, etc.
FIGURE 5
FIGURE 5
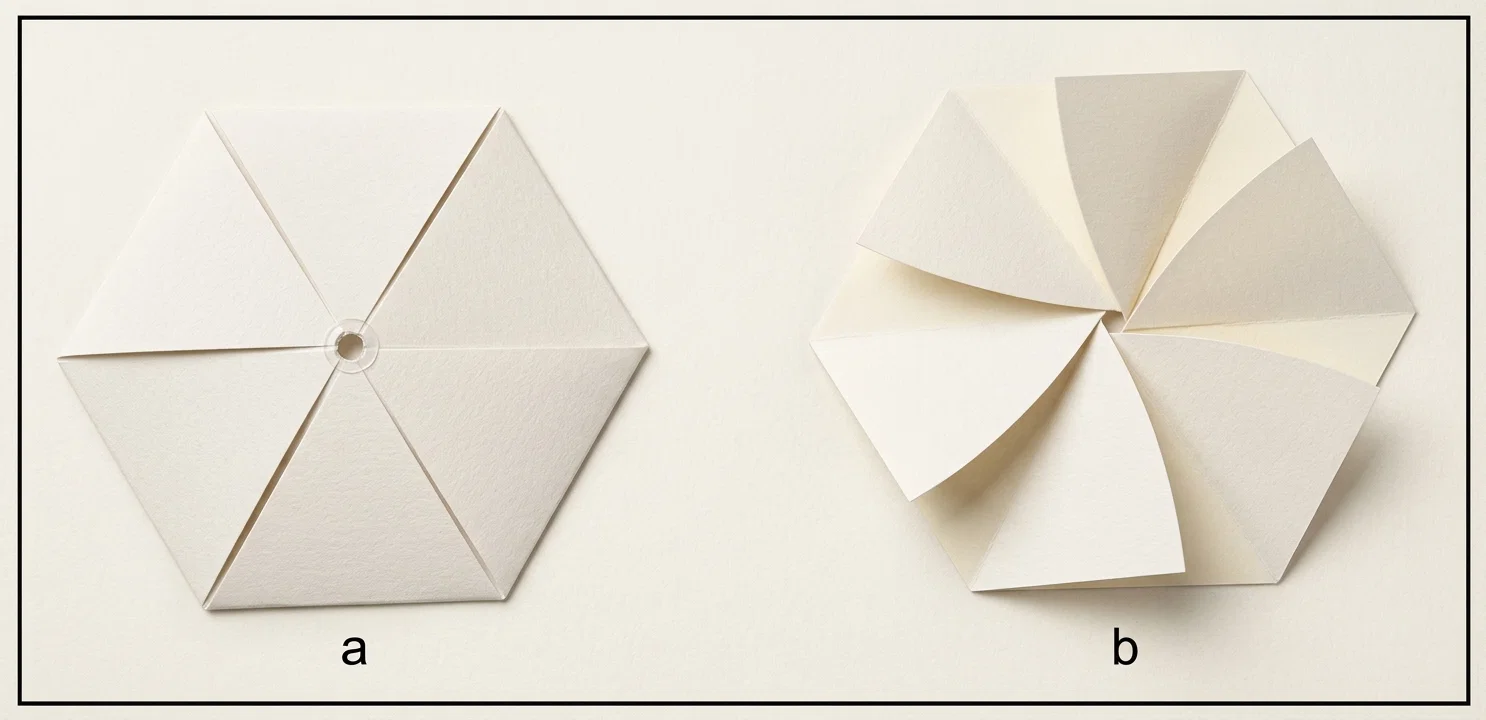
a MODEL NO. 18 b
a MODEL NO. 18 b
The canoe shown above was made from birch-bark. If dry, dip the bark in water to prevent cracking when bent. A weight should be placed on the ends when pasted, and sufficient time given for thorough drying.

Model No. 18

This is a coin purse. With a two-inch radius, draw a circle in the center, and divide it into six equal parts. (Fig. 6.) With a radius a trifle less than three and one-half inches (three and seven-sixteenths) draw another circle, using the same center. Place the ruler across two adjoining points in the small circle, and connect with a straight line; continue the line on to the right until it touches the outer circle. Repeat at each point around the circle.
Next place the ruler across, touching the center, and two opposite points in the small circle. Draw a dotted line from each point to the large circle. Repeat at each point around the circle.
Fold the dotted lines on the outside. Lay the paper on the table, with the drawing up, and by the aid of the ruler fold the solid lines on the inside, working toward the right, and holding each side down as folded. You will see that the last fold must be slipped under the first. Practise this until you can do it with ease before attempting to teach it. The folding described gives you a. To make b, unfold a, and fold inside out, working toward the left.
MRS. E. M. LONG.