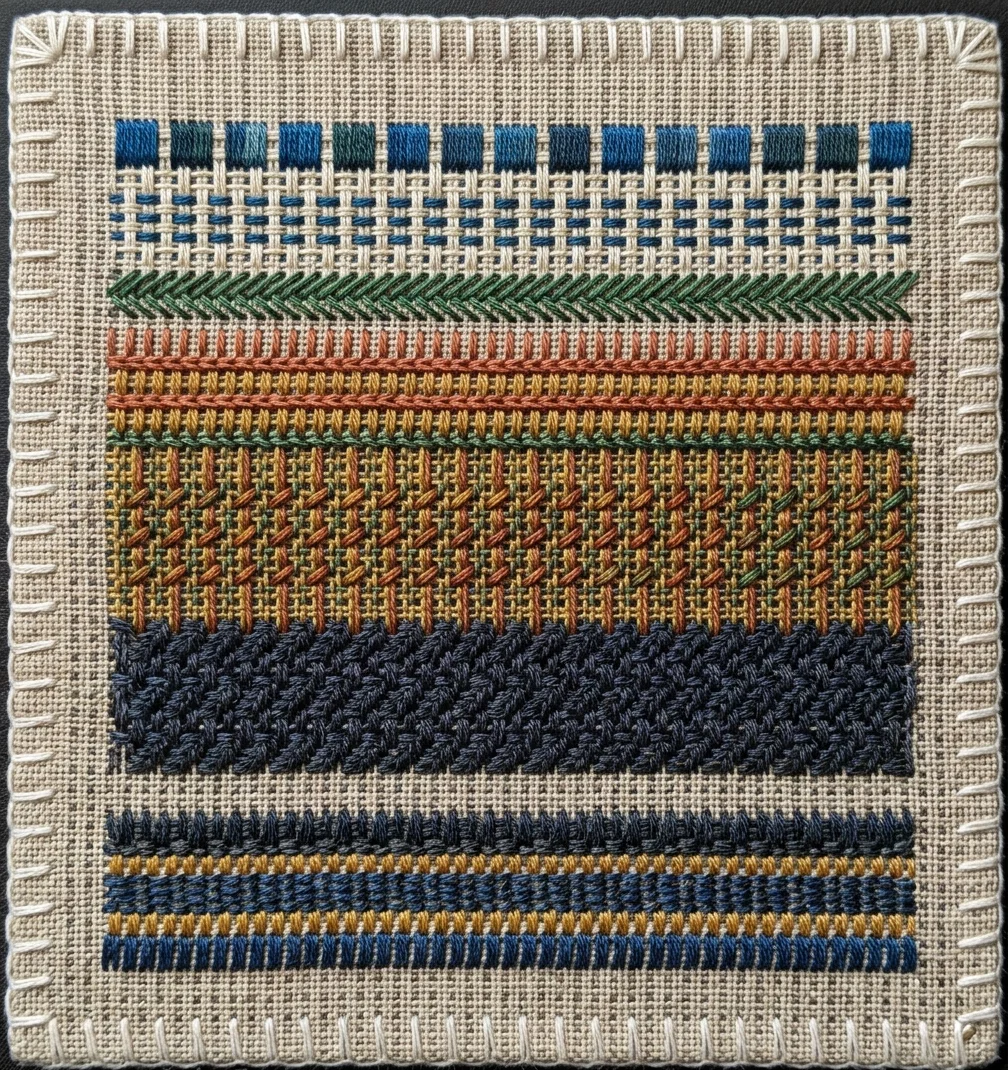
We are now ready to begin the actual work of the first model. With the stripes of the canvas held horizontally, and four double rows of white threads on the upper edge, begin the overcasting near the right-hand corner. The stitches should be two double threads deep and two apart. If when reaching the first or second corner, the stitches do not come out even, a double row of threads may be cut off. Three stitches through each corner will make them correspond with the sides. Should a new thread be needed, tie the two ends together close under the edge of the canvas; lay the ends along the edge on the under side, and take two of the overcasting stitches over them; cut off the remainder. Explain the use of this stitch, which is to keep the cloth from raveling. Illustrate what is meant by raveling.
Overcast around three sides of the canvas; at the third corner unthread the needle, and leave the remaining edge to be done after the rest of the model is finished.
It should be kept constantly in mind that a very important part of the work with this model is to accustom the children to the correct position, to the best way of holding their work, and to the proper use of the thimble. Do not allow one stitch to be taken in any but the proper manner. Great patience and constant watchfulness will be required, but thorough work here will reap its sure reward later.
BASTING
The second stitch is basting; its use is to hold the work in place while sewing. With the stripes of the canvas held perpendicularly, pass the needle up from the under side of the canvas in the upper right-hand corner three double threads each way from the overcasting. A good rule in basting is to take up on the needle one half as much cloth as you leave; so, as we leave two double threads, we will take up one. Continue across the canvas; the last stitch will end three double threads from the overcasting on the left. Make three rows of basting, with one double thread between the rows. Let each child start his own third row, the second also if he is able to do so.
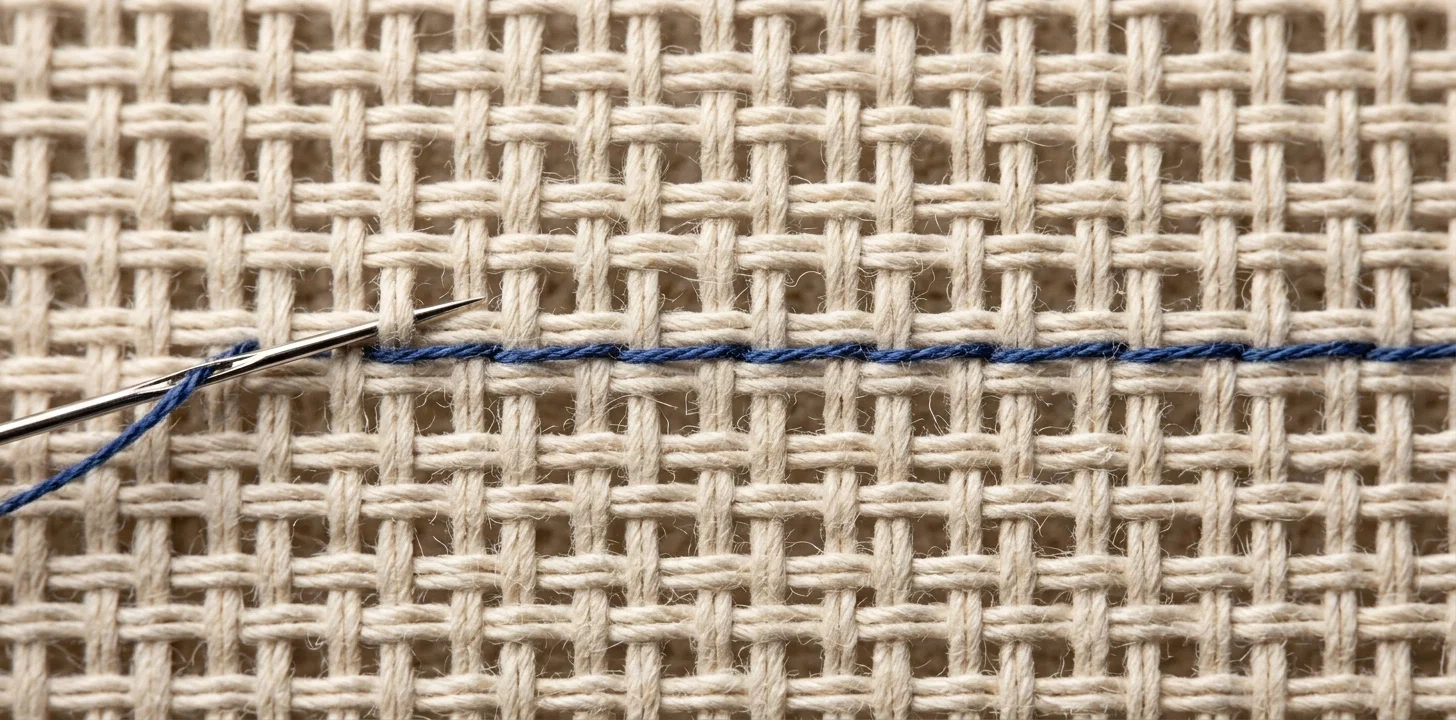
The next stitch is running; it is used for work which does not need to be very strong. Suggest and draw out suggestions of different places where running may be used. Begin the running two double threads below the last line of basting. In every case insert the needle from the under side of the canvas. The running stitch is alike on both sides of the cloth, so we pick up one double thread and leave one. This stitch does not come out even with the basting. Make three rows of each stitch, with one double thread between the rows, and two double threads between the different stitches. Before any new stitch is given, ask each child, as he comes to you, to name the stitches he has already had, and give their uses.
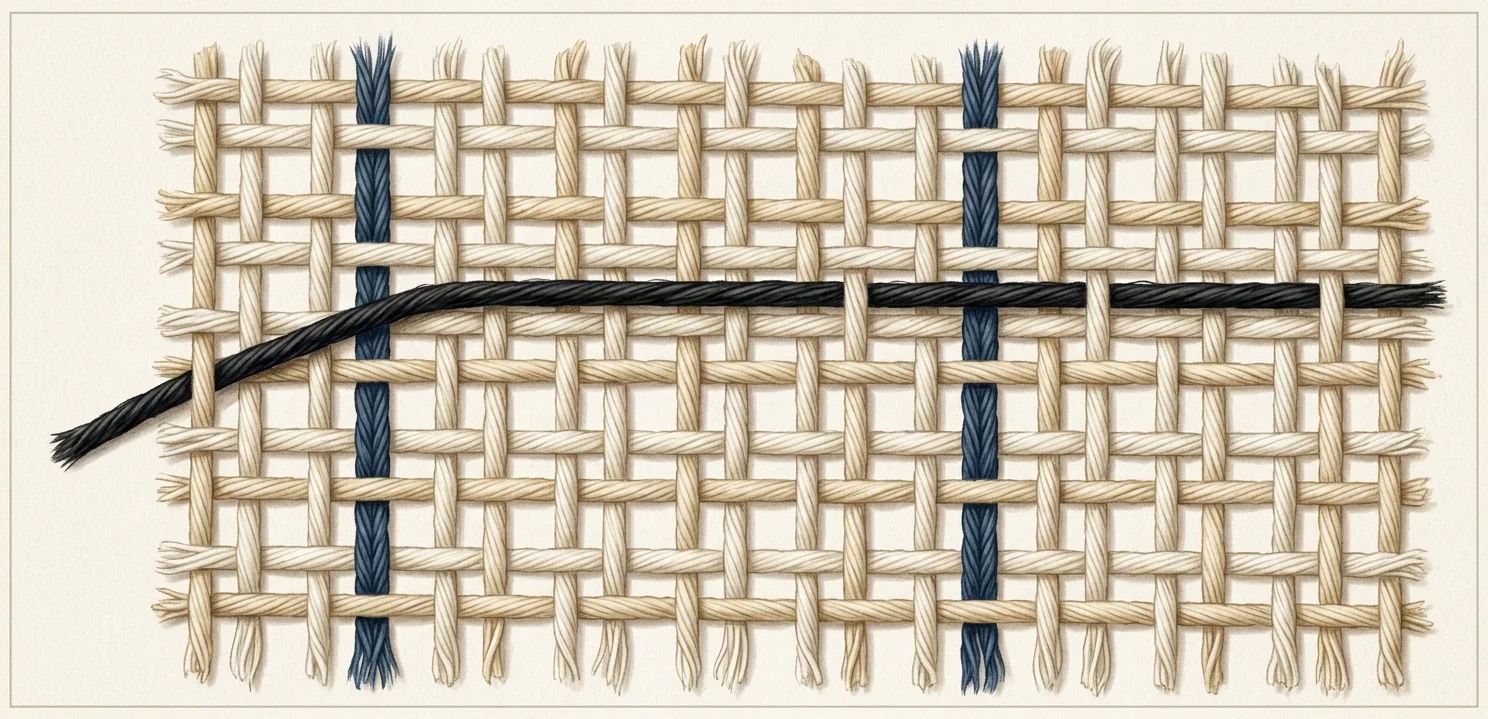
The fourth stitch is the backstitch, which is used for work that needs to be very strong. Insert the needle, from the under side, one double thread in advance of where the row begins; this is because with each stitch taken the needle is set back one double thread, and then two double threads are taken up on the needle. The effect on the upper side is the same as machine stitching.
BACKSTITCHING
Be watchful that no mistake escapes notice. It should be considered a mere matter of course that mistakes must be corrected. Pupils will soon learn that there is no question as to that; but it should be the teacher's ambition to lead them to wish to correct their work, rather than to insist that it must be done. Your standard will be theirs, so place it high.
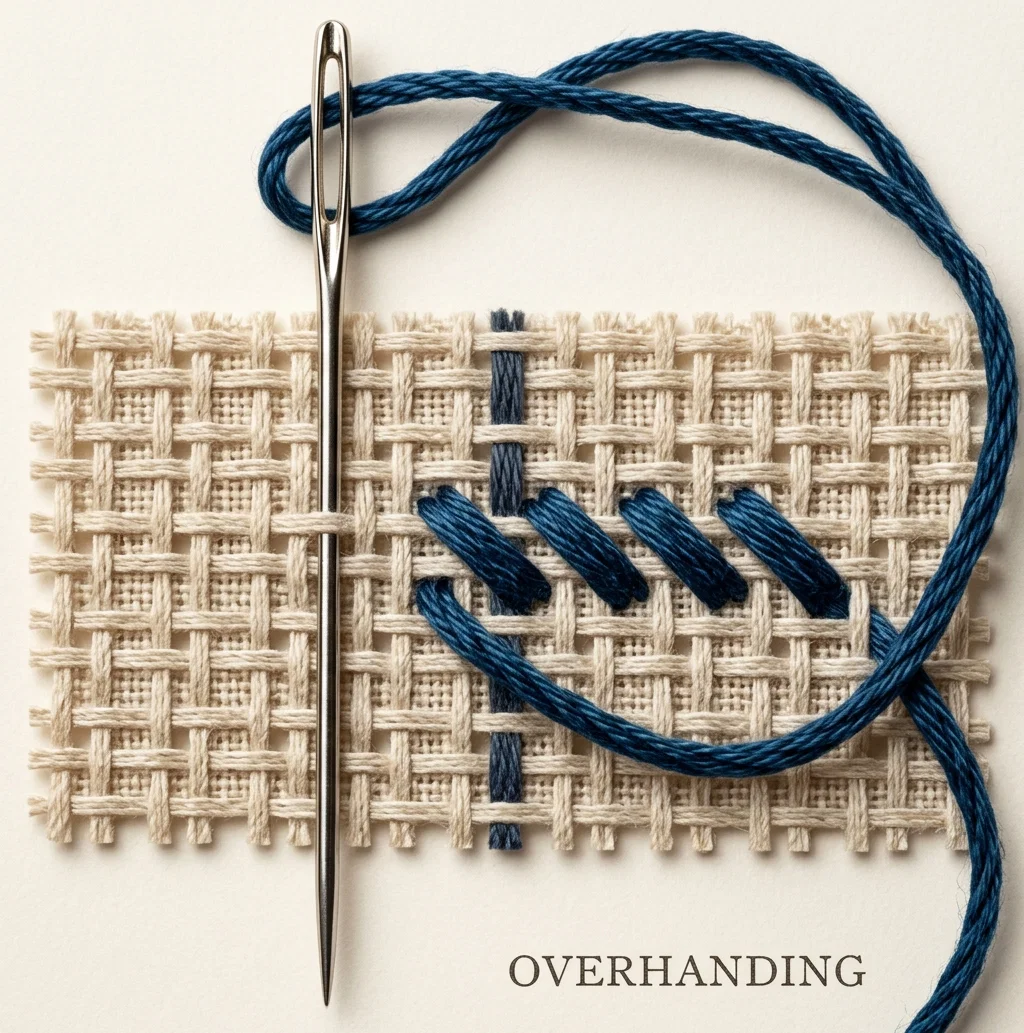
The next stitch is overhanding; it is used to join two selvage edges. Explain the meaning of the word join, and have some selvage edges for illustration. Insert the needle three double threads below the backstitch. The last row of double threads represents two selvage edges of cloth; join them by inserting the needle one double thread above and to the left of the point where it was brought up from the underside, push it straight toward the worker, and take up one double thread. This makes a slanting stitch on the upper side, and a straight one on the under side. In overhanding the needle is always pointed toward the worker.
RUNNING
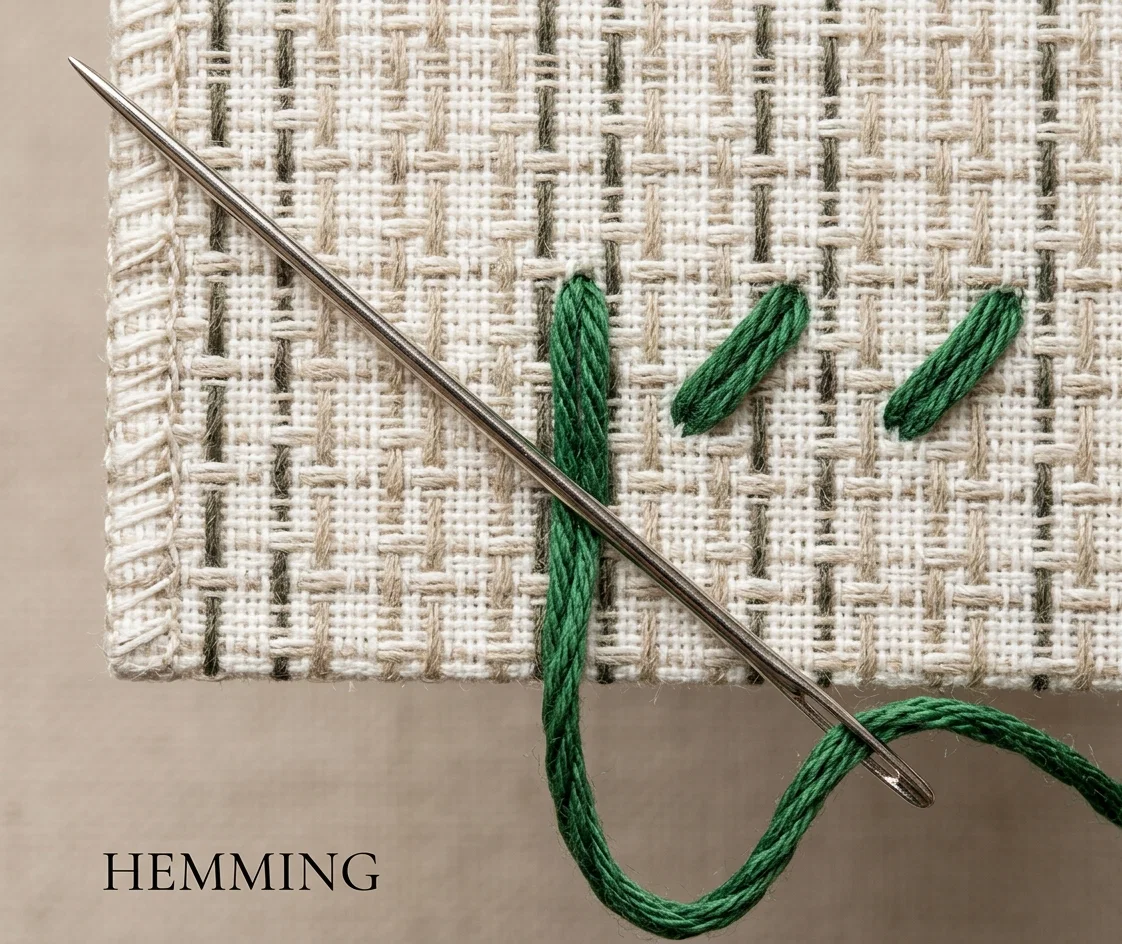
The next stitch is hemming. Explain what a hem is, and ask the children to find one about their clothing. It is a good idea to have a piece of cloth with a basted hem in readiness, and show the children just how the real stitch is taken.
For the stitch on the canvas, insert the needle two double threads below the overhanding. To take the stitch, insert the needle one double thread below and to the left of where it was brought from the under side, push it obliquely under the next double thread to the left and one above. This makes a slanting stitch alike on both sides. It is as near the real hemming stitch as can be made on the canvas. This stitch will come out even with the running, but not with the other stitches.
OVERHANGING
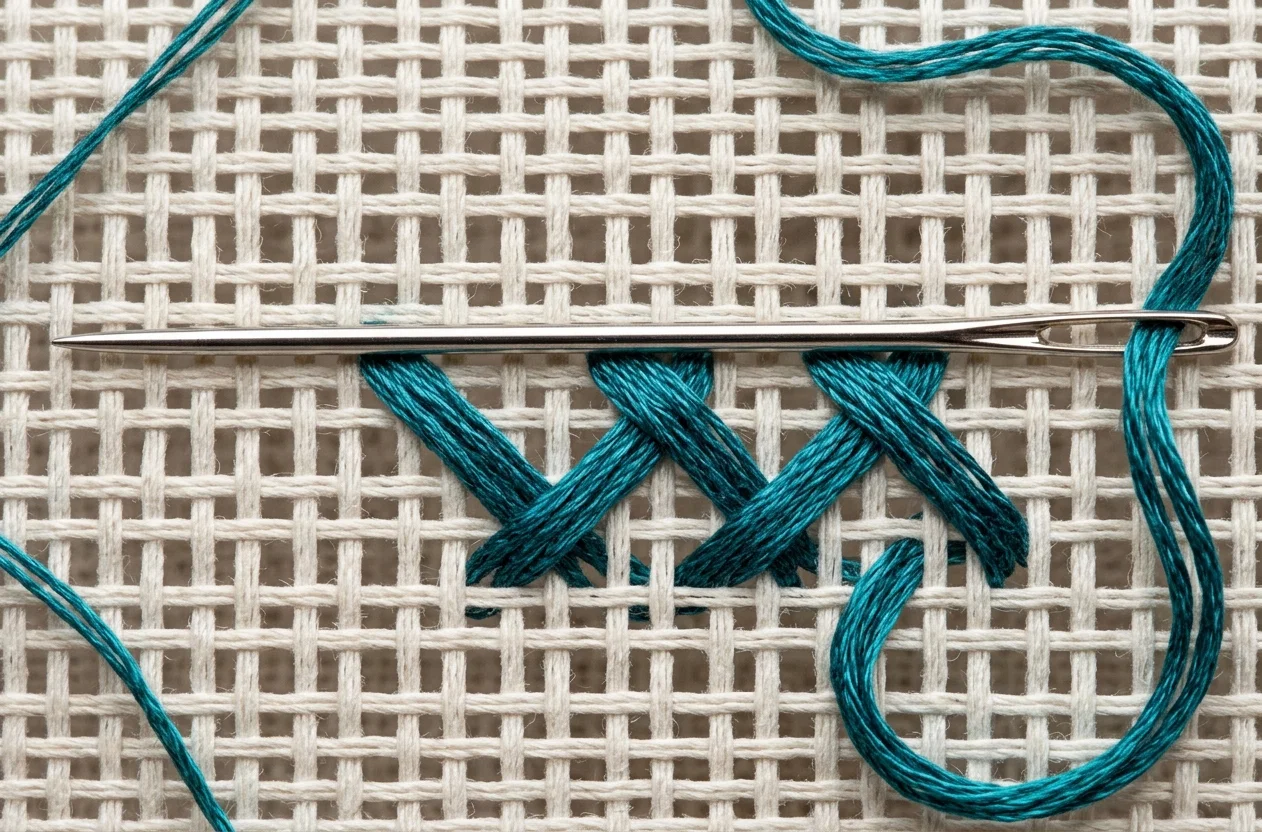
The next stitch is the cross-stitch. It is used for trimming, for sewing patches on underwear, and for fastening seams open. This should be illustrated by a seam which has been cross-stitched open. Unlike the preceding stitches this one is worked from left to right. Insert the needle two double threads below the last line of hemming, but even with the last overhanding stitch. To make the stitch, let the thread lie toward the top of the mat, and insert the needle two double threads to the right and two below; take up on the needle one double thread to the left; for the second stitch let the thread lie toward the bottom of the mat, and insert the needle one double thread to the right and two above, and take up on the needle one double thread to the left. This should be repeated above and below across the canvas. Throw the thread toward the top before taking the lower stitch, and toward the bottom before taking the upper one.
HEMMING
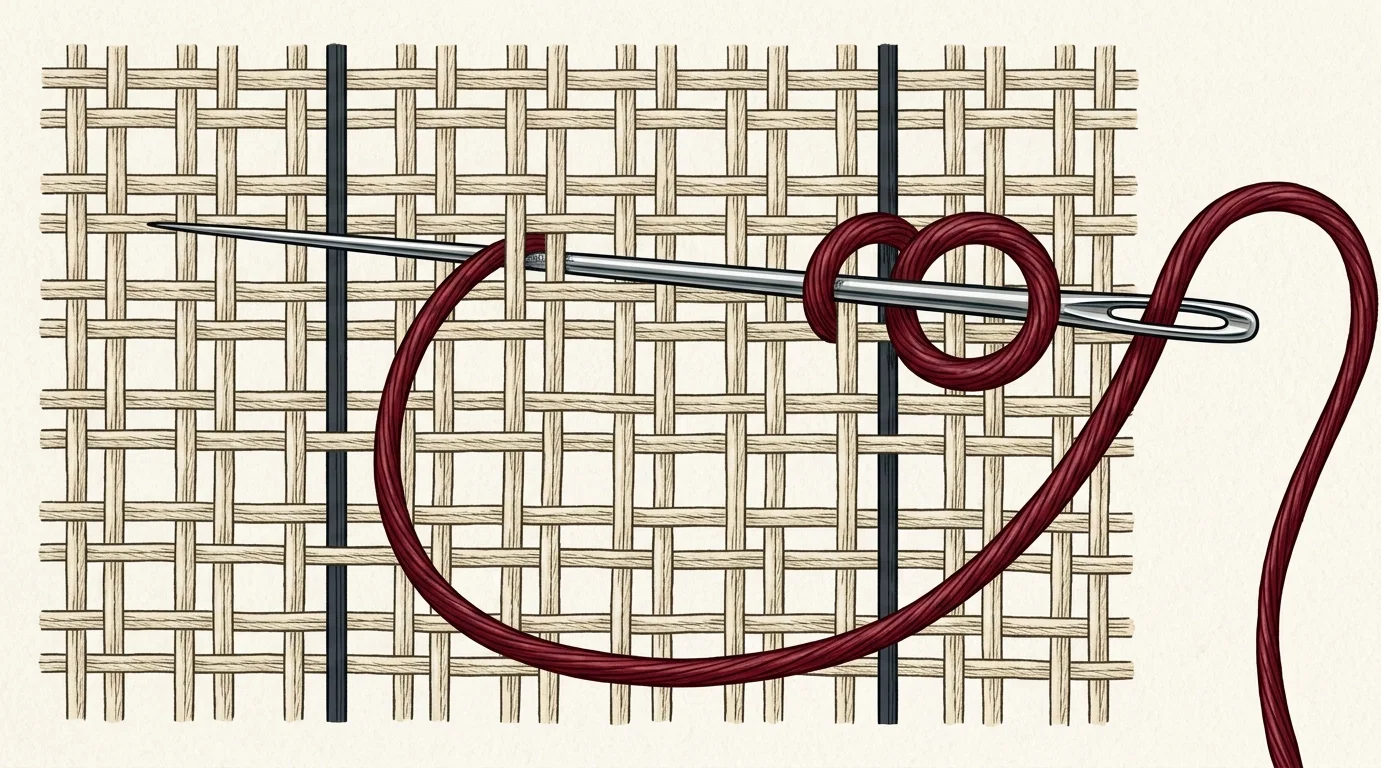
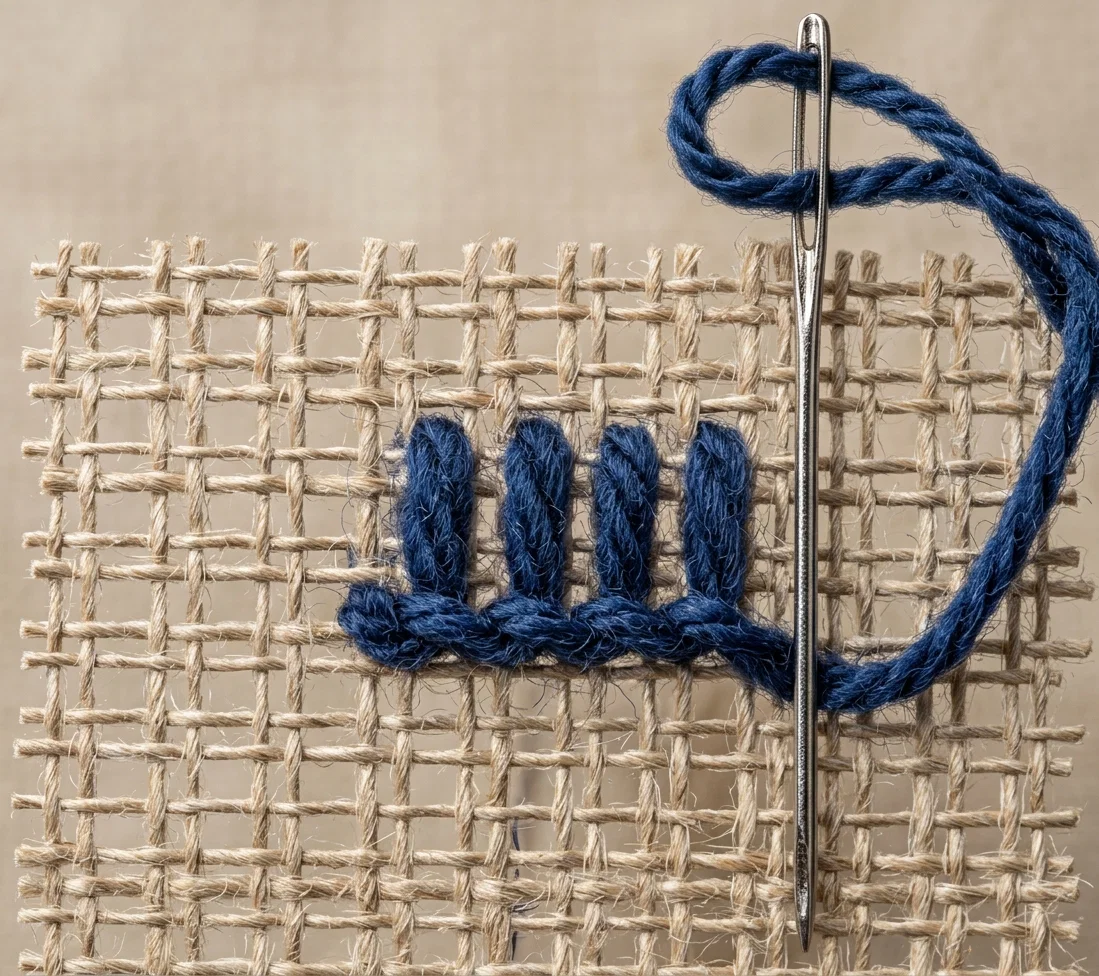
The next and last stitch is called the blanket stitch. It is used as a finish for edges which are too thick to be hemmed. Like the cross-stitch it is worked from left to right. Insert the needle four double threads below the last line of cross-stitch at the left. To take the stitch, insert the needle two double threads above, pass the needle under the two double threads and out the same place as before; draw the thread down toward the bottom, and hold it with the left thumb; take the next stitch the same as the first, one double thread to the right;28draw the needle through the loop formed by holding the thread down. After completing the third row, trim the lower edge of the canvas so that there are five double rows of threads left below, and complete the overcasting; tie the two ends of yarn together and draw under two overcasting loops, stitches on the under side. Expect each child to give name and use of each stitch upon completion of the model. The mat will need pressing, and this the teacher should do before giving it to the child.
CROSS-STITCHING
BLANKET STITCHING
The work of this model will occupy the children for a number of lessons.