Untitled article

3%

Review and Herald Publishing Association · Tacoma Park Station, Washington, D. C. · Sep 3, 1908

FromReview and Herald, Vol. 85, No. 36.

Read the full edition

Manual Training for Our Primary Grades—No. 1

[As announced last month, a series of articles on manual training is to be presented in these columns during the coming school year by Mrs. E. M. Long. We plan to have one of these articles appear each month. They will afford sufficient suggestions and help, we believe, to enable our primary teachers to give a thorough course of instruction in manual training continuing throughout the school year. The paper needed for the work may be obtained from the Review and Herald Office. For twenty cents they will send twenty sheets of manila paper, eight inches by eight inches, and the same number of sheets of colored assorted “cover” sheets.—P. G.]
The courses of work which will be outlined in the following articles may be used with equal success in either graded or ungraded schools. The first course, which is paper work, is designed for children from seven to nine years of age. Younger children have done the work, but for them it is better to omit the more difficult models. More harm than good results from giving work too difficult to be successfully completed by the child’s unaided efforts. Unaided effort is not undirected effort. It is the teacher’s business to direct, but more than that should not be necessary.
If inaccurate work is accepted, the child’s standard is lowered, and thus, in a great measure, the object of the work is defeated. If the teacher does the difficult parts, the finished model is not a true expression of the child’s ability, and his own sense of honor recognizes that fact, and thus he is robbed of the pleasure and honest pride which he would feel if the work were all his own.
The object of the work is to teach neatness, carefulness, accuracy, attention, and some degree of skill. In short, it is to educate the eye to observe and the hand to perform. It aims to do this through the medium of attractive forms and colors, which appeal to the interest of the child.
The tools needed for each child are a foot rule, a pencil, scissors, compasses, and a coarse darning-needle. The ruler should not be marked finer than one eighth of an inch. The pencil should be sharpened to a fine point. Scissors with long blades are preferable. Do not use poor compasses; that is, compasses that can not be locked, or that “wabble.” A good pair can be procured for twenty-five cents at retail, or for about fifteen cents by the dozen. If you can not obtain good ones, use a home-made substitute, directions for making which will be given later.
The materials needed for this work are two eight-inch squares of paper for each model. One square of plain paper for the drawing, and one of colored for the model. Also have some yarn or ribbon for tying. The best paper for the purpose is what is known as “cover” paper. It can be procured in assorted colors, and be cut to the required size, at almost any job printing-office.
Everything should be in readiness, and an eight-inch square for the teacher’s use drawn on the board before the class is called. The teacher should also have a finished model to place before the class. Let no teacher attempt to give instruction in manual training who has not herself done the work, and recently enough so that every point is fresh in mind.
Show the children the model, explain its use, and call attention to its good points of workmanship. Give them a high ideal to work to, and inspire them with an ambition to reach it.
The child, of course, sees only the model, but the teacher should see the deeper and more lasting results which may be gained through his efforts to reproduce the model, and should spare no pains to secure excellence of workmanship. Let no negligence or short-sightedness on the part of the teacher defraud the child of the benefits which he should receive. Teach him that carelessness in only one point will result in an imperfect model. Let perfection be the standard, and remember that it is made up of trifles.
One model, with the drawing, is all that should be given for one lesson, and as the more difficult models are reached, it is sometimes well to let the drawing constitute one lesson, and the making of the model another.
Give each child a square of the drawing-paper, and carefully explain how, by placing the fingers of the left hand on the ruler near its center, and letting either the wrist or the thumb and little finger rest on the paper, lines may be drawn across without either ruler or paper slipping out of place. This exerciseshould be practised until thoroughly mastered.
Then you are ready to take up the work of the first model. In every case the drawing on plain paper should precede the actual work of the model. The drawings should be preserved, and may be placed in the envelope which is the last model of the course, and each child’s complete set be given to him at the close of the term.

Model No. 1

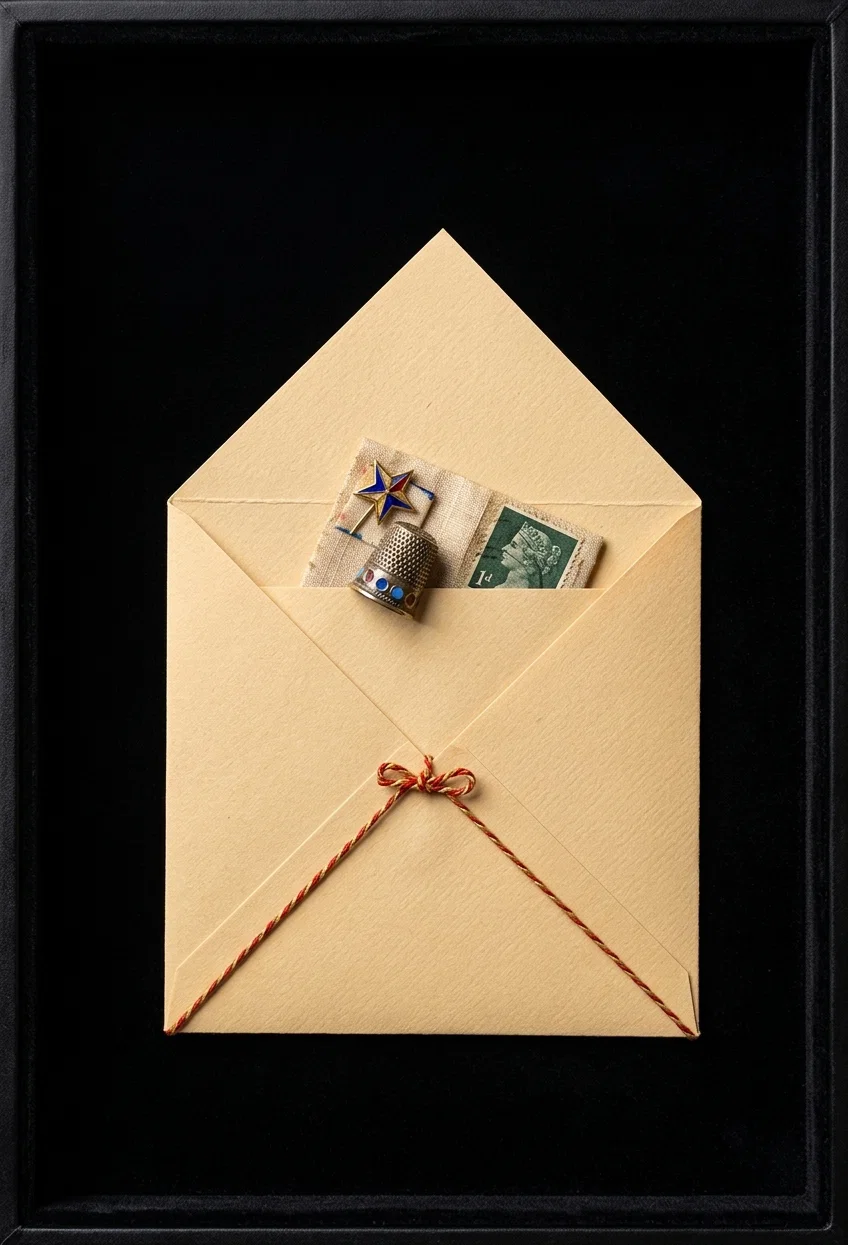
The first model is a very simply made envelope. For the drawing (Fig. 1), place the ruler across the square diagonally, and draw a line entirely across. Call attention to the fact that the line runs exactly into each corner. Emphasize the importance of this, and ask the children to draw similar lines on their paper. Pass around, and see how successfully they have done this. Make any needed suggestions.
THE ENVELOPE
THE ENVELOPE
Then return to the board, and with the same care as before, place the ruler across the square in the opposite direction, and draw a line from one corner to the point where it meets the first line. Stop exactly at the point of meeting. Make a special point of having each line of every drawing begin and end just where it should. Examine each child’s work. If well done, let each write his name on his own, and give him a sheet of colored paper. If not well done, he may turn the paper over, and try on the other side.
In every case as soon as the colored paper is received, let each child repeat the drawing on that, without any suggestions from the teacher. Teach the children to work independently, and not to expect help, after the first drawing is completed.
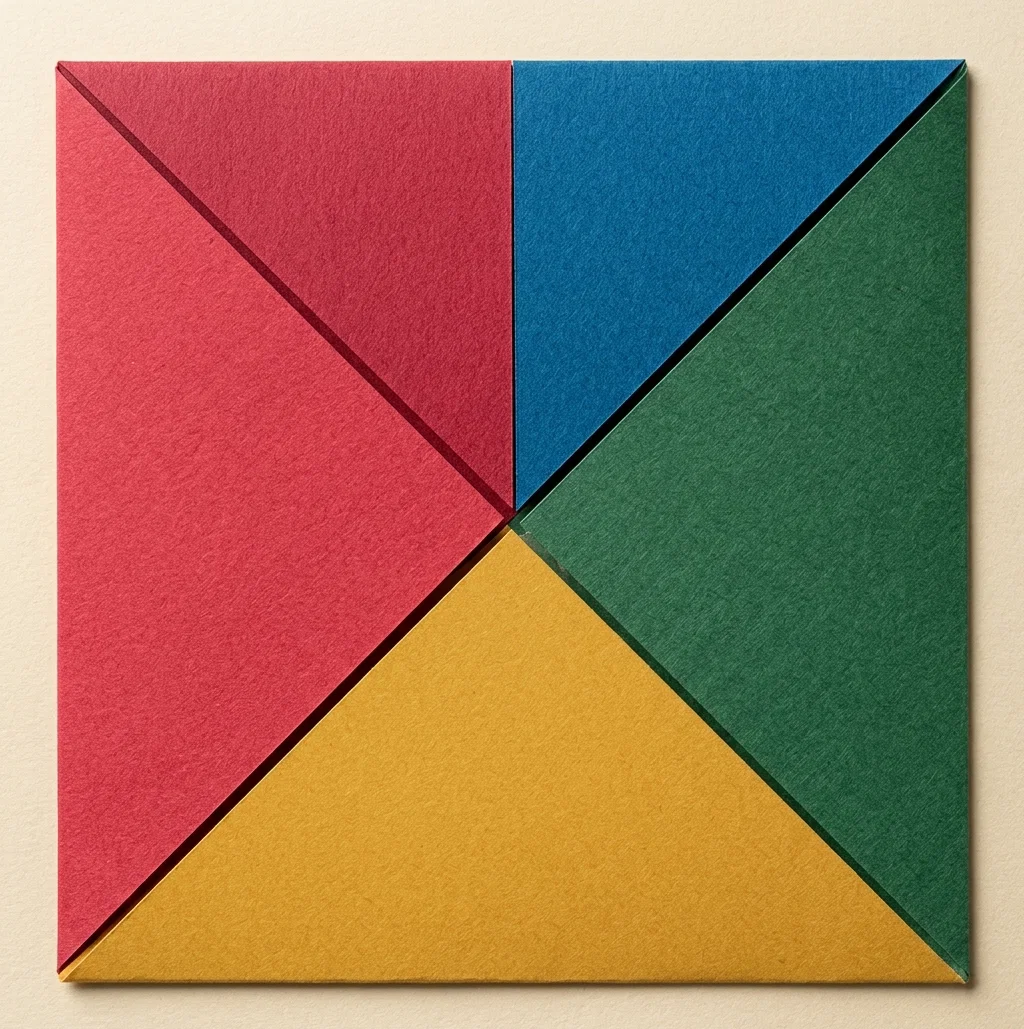
To form the envelope, fold the corners which have lines through them over to the center. Place them, just one at a time, so that the very tip of the corner is exactly at the point where the short line meets the long one. Hold with the left hand in such a way that it can not slip out of place while the fold is being made with the right hand. If correctly done, the edges will just meet, and the corners made by the folding will be true and square.
Provide each child with yarn of suitable color, and a darning-needle. Teach them how to thread the needles properly, and see that each child threads his own. Show them how to roll the needle between the thumb and forefinger, as it draws the yarn through the paper. This will prevent the paper from being torn.
FIGURE 1
FIGURE 1
FIGURE 2
FIGURE 2
THE WINDMILL
THE WINDMILL
Then show them how to push the needle in through the right-hand flap, out through the lower one, and out through the left-hand one. Carefully draw the corners together. Slip the needle under the stitch formed by passing from the lower flap to the left one, bring together at the center, and tie.
When finished, the envelope may be hung on the wall to receive unanswered letters, or letters ready to be posted.

Model No. 2

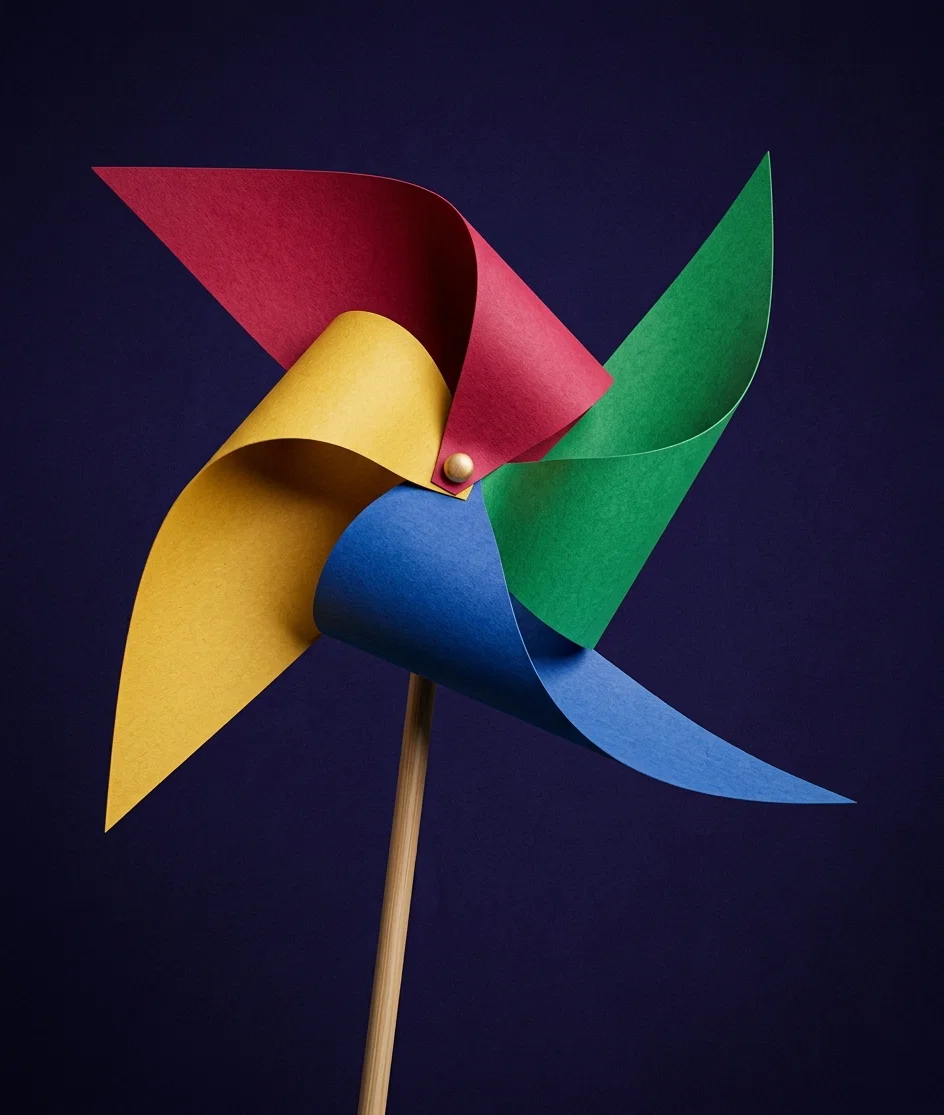
This is a windmill. To make it, the teacher will need for each child, in addition to the paper, a good-sized common pin, two quarter-inch squares of cardboard, or heavy paper, and something for a handle. Willow or alder shoots may be used, or a smoothly whittled pine stick, as large around as a lead-pencil. If none of these can be readily obtained, half-inch strips cut from a heavy pastboard box may be used.
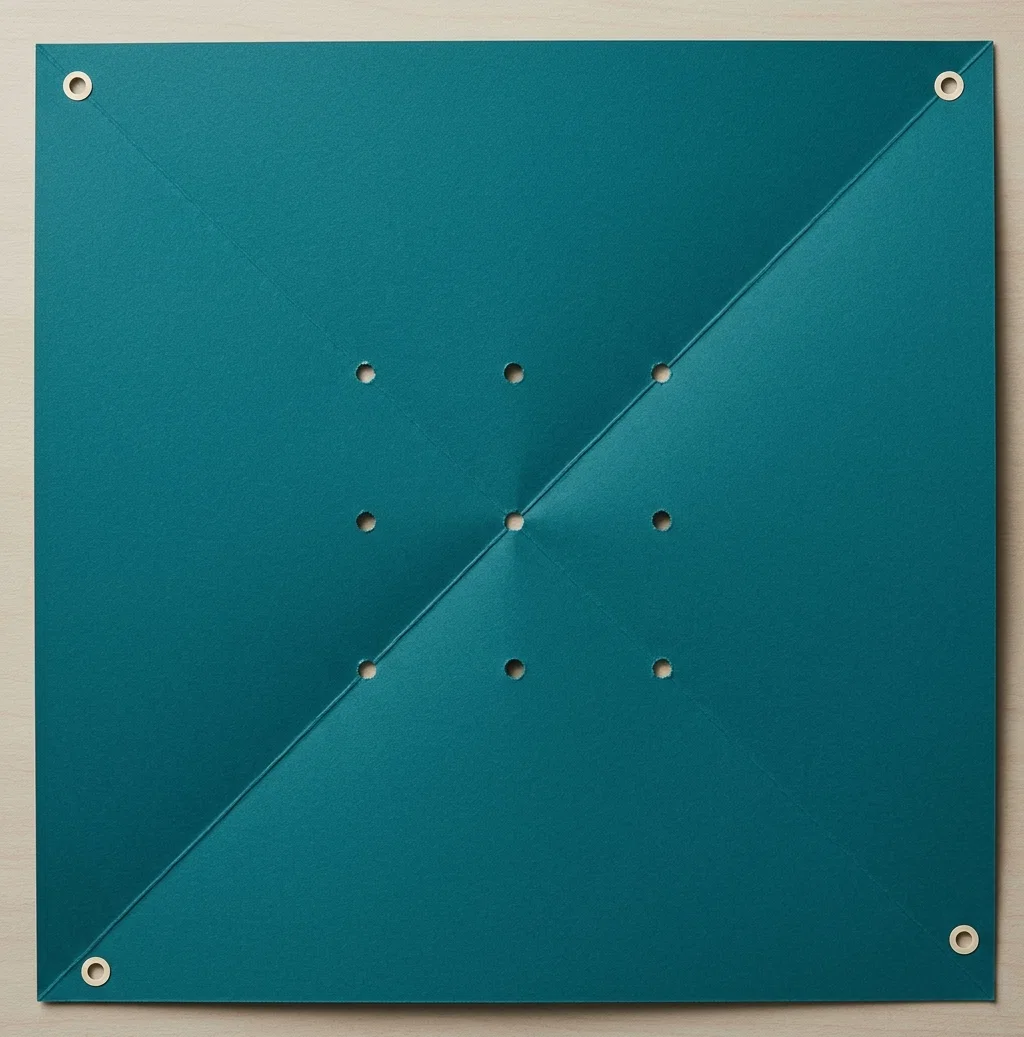
The drawing is the same as for the envelope, except that both lines are drawn entirely across.
With each drawing let the children follow, step by step, your work on the board. Pass around often enough to assure yourself that they are following correctly. Notice the points on each line not far from the intersection of the lines. These are located by measuring four inches from each corner of the paper. If the children do not know how to measure, they must be taught now. Teach them also the correct way of making a “point;” that is, to place the point of the pencil exactly where the “point” is needed. With the pencil upright, press lightly, and roll between the thumb and forefinger without moving it along on the paper. This makes a small, round dot. Accept nothing else.
Notice the very small circles near each corner of the drawing in Figure 2, and be sure that similar ones are placed on the board, and correctly copied by the children. On the colored paper these should be perforated with a pin; also perforate the center, where the lines cross. Cut each line from the corner of the paper to the four-inch point near the center. The cuts should be straight and smooth, and right in the center of the line. This can be done easily by opening the scissors wide, and closing them steadily on the line. A long, steady cut gives better results than short, clipping ones.
Now show the children how to put their models together, but let each child have the pleasure of doing his own.
First push the pin, clear to its head, through one of the small squares of cardboard. With the windmill lying before you, pick up one of the perforated corners, bring it over so that the pin can enter the perforation from the under side of the drawing, and slip the pin through. Also through each of the other perforated corners in the same way; then through the perforation in the center, through the second small square of cardboard, and well into the end of the handle. The squares of cardboard serve as washers.
MRS. E. M. LONG.