Methods

4%

Review and Herald Publishing Association · Takoma Park Station, Washington, D. C. · Feb 4, 1909

FromReview and Herald, Vol. 86, No. 5.

Read the full edition

Methods

Manual Training For Our Primary Grades—No. 5.
Model No. 19
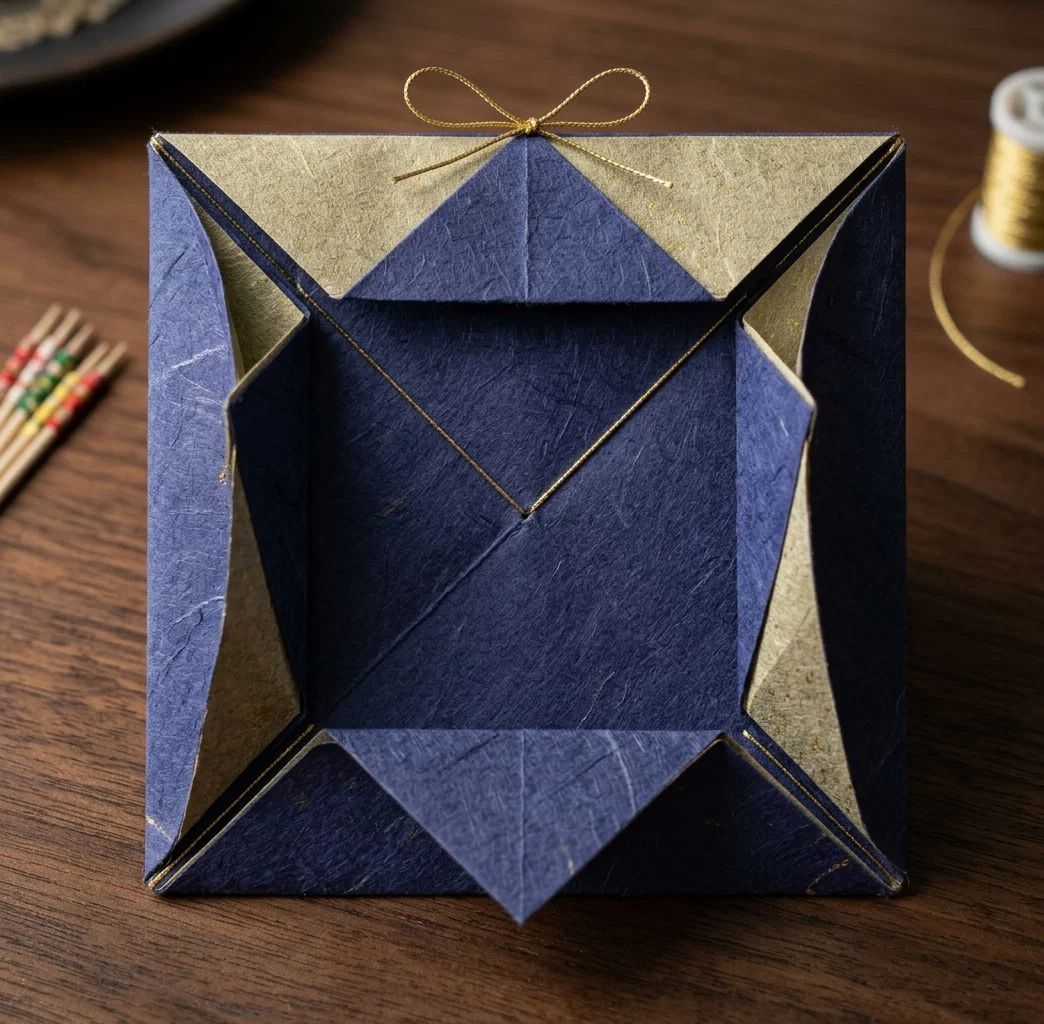
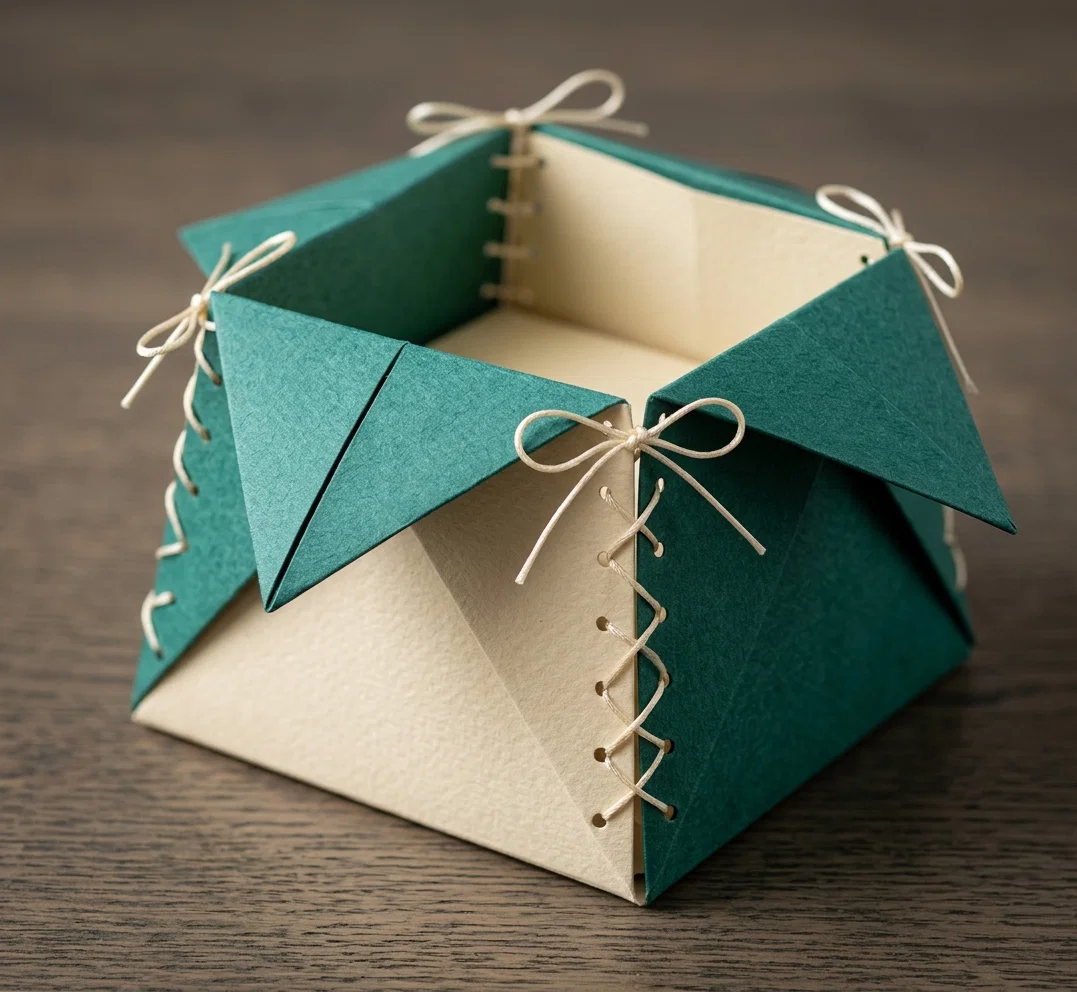
This is a toothpick holder. With a radius of two inches, draw a circle in the center of the paper. Make a point in the center of each side of the paper. Place the ruler across opposite points each way, and make points in the circle where the ruler crosses it, thus quartering the circle. Connect these four points. This square is the bottom of the holder. Place the ruler across the diagonals, as in finding the center, and make a point in the center of each side of the square. Prick these four points. Connect each corner of the square with the nearest two corners of the paper. Cut out the parts marked x. Fold the corners of the paper back so that the tip of each corner just touches the pricked point below it. Mark the places for tying, then fold the lines as usual. Lace the corners, and tie at the top.
MODEL NO. 19
MODEL NO. 19
Model No. 20
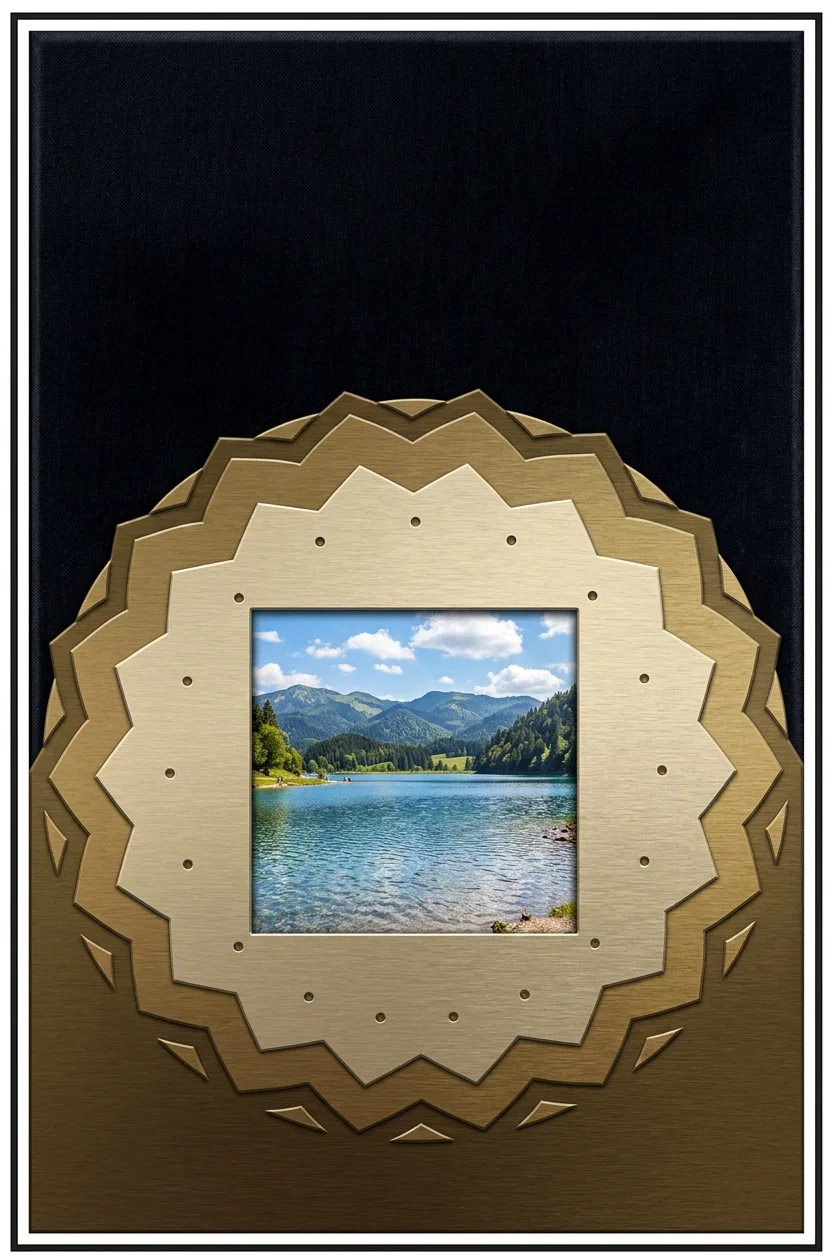
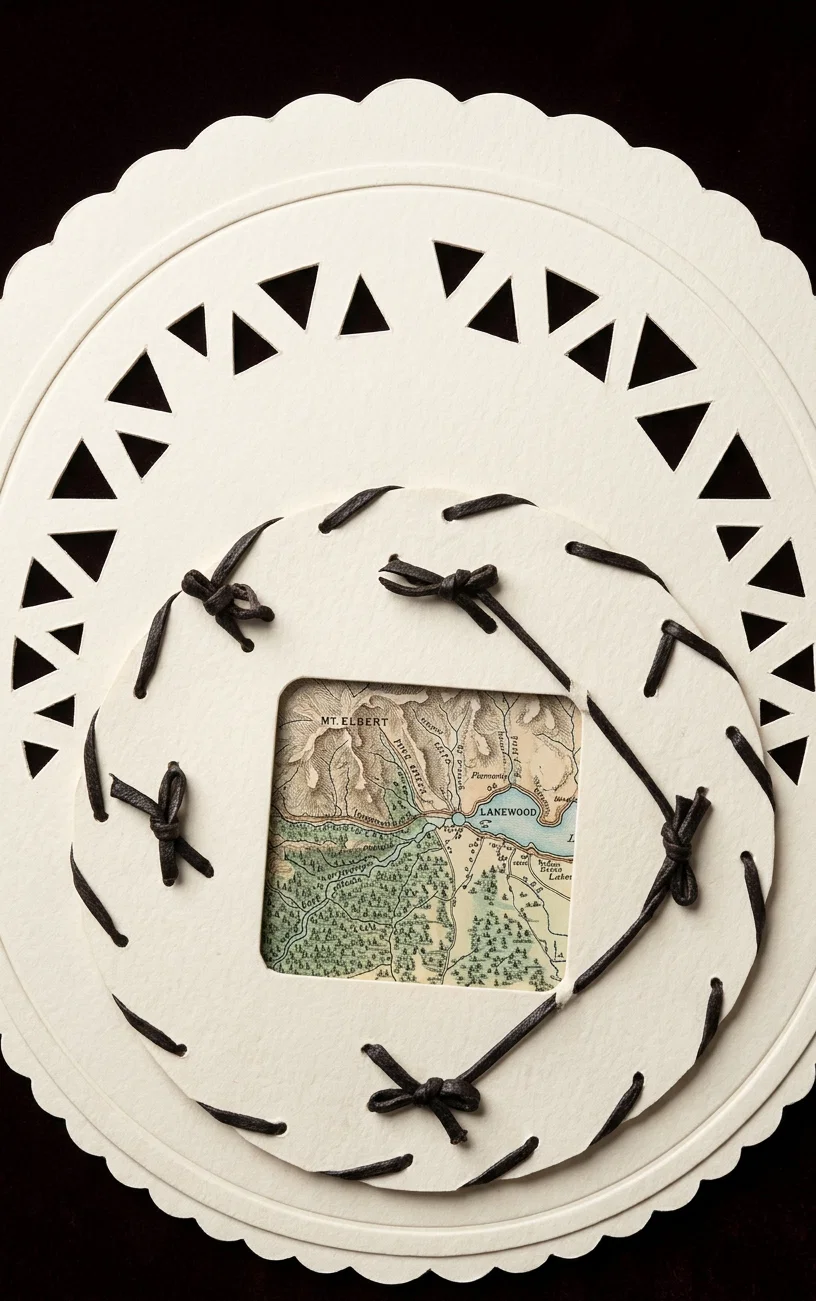
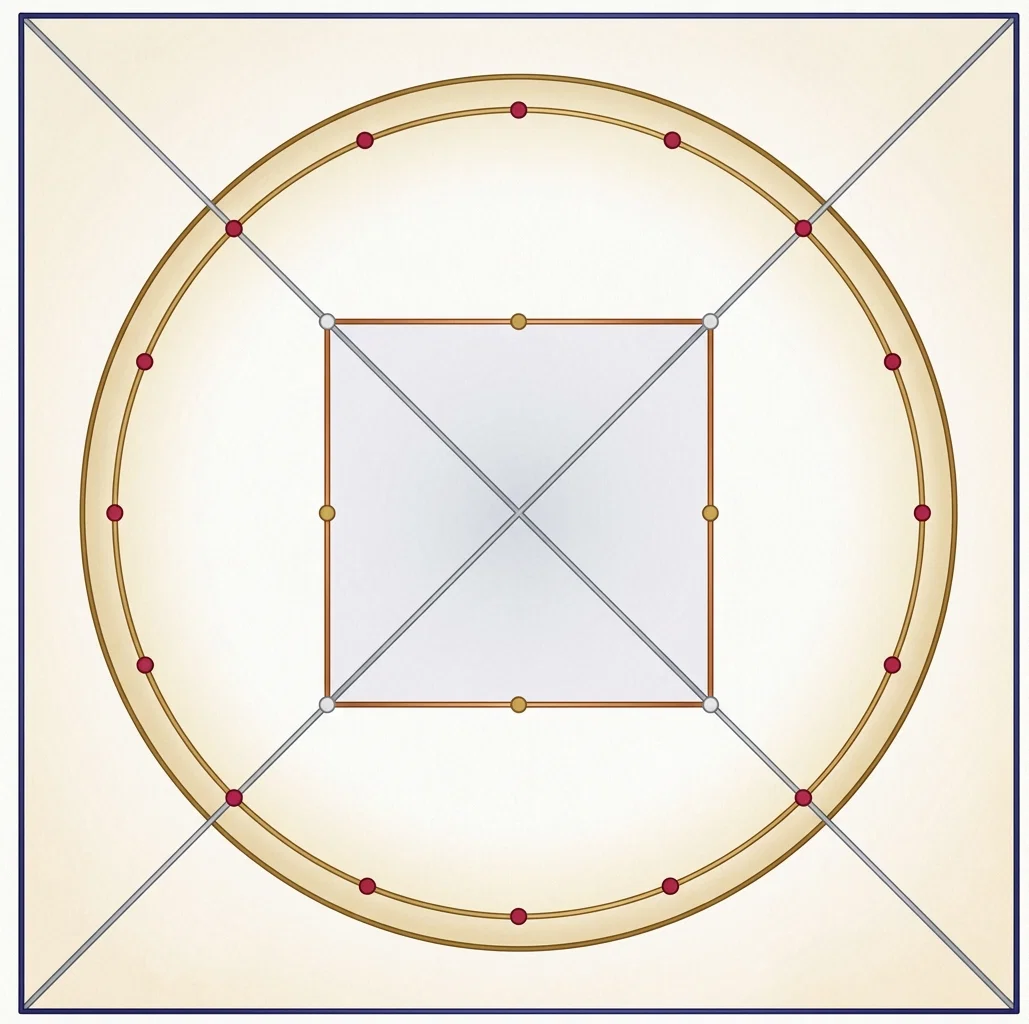
This is a picture frame. A and b show different ways of finishing. For the drawing for the frame (Fig. 2), draw two diagonal lines. Make points on these lines three and one-half inches from each corner of the paper. Connect these six points. This square outlines the opening
for the picture. Draw two circles, one with a radius of three and one-fourth inches, the other three and one-half inches. With a radius of one and one-fourth inches, place the point of the compasses in turn at each of the points where the inner circle is crossed by the diagonal lines, and make a point each side of each line. Locate the point in the center of the wide space left at each side of the circle by using the same radius and four of the points just made, or by placing a point in the center of each side of the paper, and placing the ruler across opposite points each way.
MODEL NO. 20 (a)
MODEL NO. 20 (a)
Including the points made by the diagonal lines, you now have sixteen points on the circle. Pierce each of these with a pin so that it may be readily found on the under side of the paper. Place your drawing on a piece of cardboard or heavy paper, and with a sharp-pointed knife cut both diagonal lines through the length of the square in the center. Cut out the large circle.
To make a, fold the lines of the square, turning the triangular sides over upon the upper side of the paper, and folding down flat. To make b, turn the triangular sides over onto the under side of the paper. Do not fold; simply roll each over, and tie near the corner, right through the frame, making a small bow of the yarn or ribbon used for tying. The under side of the drawing is used for the right side of the frame, to avoid having lines on the outside.
To provide a place for the picture, as well as for strength, the frame must have a back. A sheet of the drawing-paper will suffice for this. Draw on it the two diagonal lines. Make a point on each two and three-fourths inches from the upper corners, and connect with straight line (Fig. 3). Cut this line with a knife in the same way that the diagonal lines through the square were cut. Through this slit in the back, the picture may be inserted after the frame is finished. Now place the back upon the table with the lines up. Place the frame which
you have cut out, upon the back, with the lines down. Locate it in the center by having the diagonal lines of the back fit into the square opening of the frame. Secure it in this position with a touch of paste under the four sides just at the edge of frame, so as not to interfere with the picture. Wait until dry, then cut the back to fit the frame.
If you have a small conductor's punch, use it at each pin-prick around the circle. If not, enlarge the perforations by passing a darning-needle through each. To finish as in a, thread your needle with about two yards of yarn or ribbon, and pass through each perforation, going around first forward and then backward. For b, work around in one direction only. Attach ribbon for hanging.
MODEL NO. 20 (b)
MODEL NO. 20 (b)
Model No. 21
This is an envelope designed to hold the set of drawings just completed. It is nine inches square. For this envelope you will need a sheet of heavy paper, fifteen and one-half inches wide, and nineteen long. With one of the long sides of the paper toward you, make a point five inches from each corner on the upper and lower edges. Connect these points as shown. Make a point on each of the short edges two inches from the lower corners, and four and one-half inches from the upper corners. Connect as shown. One fourth of an inch above the lower line, make a point on each side of the paper, and draw a slanting line from each to the nearest point where the lower line is crossed by an upright one. Make a point on the upper and lower lines exactly in the center between the upright lines. Place the ruler across these points, and make a point one inch below the upper edge of the paper. Make a point on the lower line two inches from each of the upright lines, measuring toward the center. With a radius of two inches, place the point of the compasses in turn at each of the last two points, and draw the curved corners of the lower flap.
FIGURE 2
FIGURE 2
With a radius of four and one-half inches, place the point of the compasses at the point in the center of the upper line, and draw half a circle above the line. Be sure to have the half circle begin and end exactly at the intersection of the lines, as shown above. Cut away the parts marked x; also cut the slanting lines. Fold the upright lines. With a radius of four and one-half inches, place the point of the compasses at the point one inch below the center of upper edge, and draw a curved line on the folded side flaps of the envelope. Cut this curved line. Paste or glue the folded sides together. Fold the lower flap up over the side flaps and paste. Press until dry, then fold the upper flaps down, and your envelope is ready to receive the drawings.
Model No. 22
This shows another size and style of envelope made from a sheet of paper the same size as was used for the previous one. The finished envelope is seven inches wide and eleven and one-half inches long. It is sometimes called a portfolio, and is very convenient for class papers. The side flaps are two inches wide, and have a slant everywhere of one inch. The upper flap is five and one-fourth inches deep, and also has a one-inch slant. The lower flap is six and three-fourths inches deep, and has a side slant of one-fourth inch. Fold the lower flap up; then fold and paste the side flaps.
FIGURE 3
FIGURE 3
The work which has been given in this and preceding articles will, if properlyhandled, prove a valuable aid in primary teaching. It is a never-failing source of interest to the children, and while they are delighted with the pleasing objects which a little patient effort has enabled them to make, the teacher is not only gratified, but her work is made lighter by the more lasting results apparent in improved neatness and accuracy in every line of work.
Of course it is not necessary to follow this or any other set course of models. After a little experience many practical things will suggest themselves, and each teacher should study to adapt the work to the needs of her own pupils.
MRS. E. M. LONG.